Choosing Metal Roofing Types

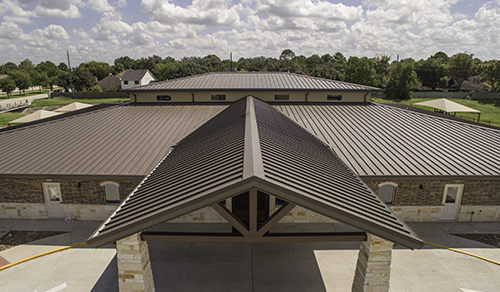
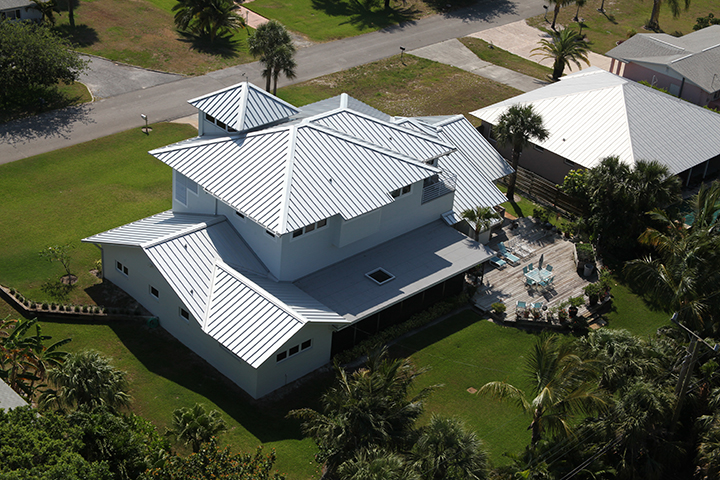
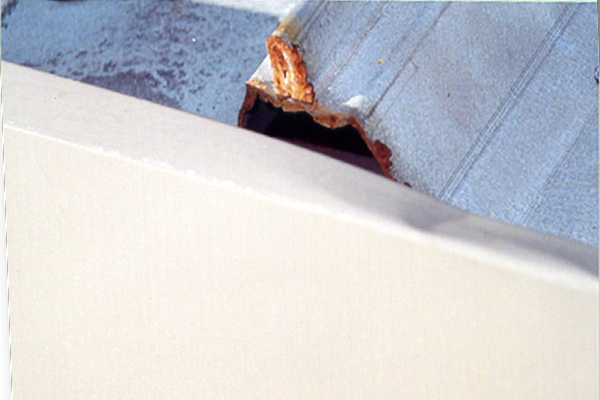
All metal roofing is not the same. There are different profiles in different shapes for different reasons and to suit different performance needs. How to choose? Here’s the process that metal building engineers go through at MBCI to zero in on the most economical selection that will still meet the performance requirements of a particular metal roof project.

Snap Together Trapezoidal Panels

Offered by MBCI under the name Ultra-Dek®, the trapezoidal shape is among the best for channeling water off of the roof. However, because of this shape, it is most appropriate for typical sloped roofs with single plane roofs areas free of valleys or hips. It’s snap together installation makes it quick and easy to install economically with wind resistance capabilities adequate for many situations. It also carries basic air leakage and water penetration testing approvals.

Mechanically Seamed Trapezoidal Panels

For roofs that require a higher degree of performance than snap together systems can provide, MBCI Double-Lok® panels can be considered. The mechanically field-seamed, trapezoidal legs provide higher wind and water resistance with test results to satisfy UL-90, FM ratings, and Miami Dade County approvals. This makes them ideal for many industrial, commercial, and architectural roofs without hips and valleys that are subject to higher wind and rain demands. While the material cost for the panel is the same as for the Ultra-Dek®, there is more labor cost due to the mechanical field-seaming compared to the snap together installation. The Double-Lok® panel is also used often for retrofit installations over pre-existing metal roofs either to update the roof or to provide additional insulation. In either case, there is no need to disrupt the existing roofing or structure below allowing for a very cost-effective solution. Check with MBCI on the details of how to properly do a retrofit with these panels though to be sure things work out as intended.

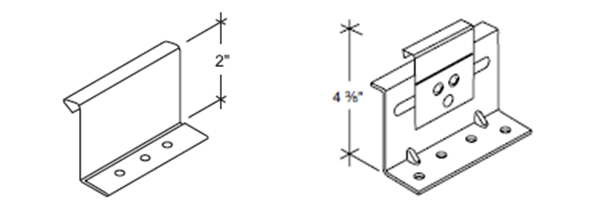
Vertical Legs with Mechanical Seams

BattenLok
Regardless of which metal roofing type you choose, they all use high grade steel in standard gauge thicknesses and can be specified in many colors.

In cases where the trapezoidal legs aren’t appropriate or desired, then vertical leg, standing seam metal panels are the next logical choice. The MBCI BattenLok® HS system uses 2” tall legs that are mechanically field-seamed once along each panel joint to create a high strength, structural standing seam roof system that can be installed directly over purlins or bar joists – no additional solid substrate is required. It is also capable of transitioning from roof to fascia with the use of accessory seam covers.

Double Seamed Vertical Legs

In cases where very rigorous weather conditions may be encountered, the MBCI SuperLok® roof panels provide the highest degree of roof performance. While the manufactured SuperLok® roof panel is essentially the same as the single seamed BattenLok® panel, the profile is modified slightly to allow for standing seams to be rolled over twice, thus creating a stronger, thicker seal between adjacent panels. Once again, there is no difference in the material cost between the two, but the added field-seaming step will obviously add to the labor cost of this roof choice. Nonetheless, that can be a small price to pay for the higher performance and added peace of mind that the system offers.

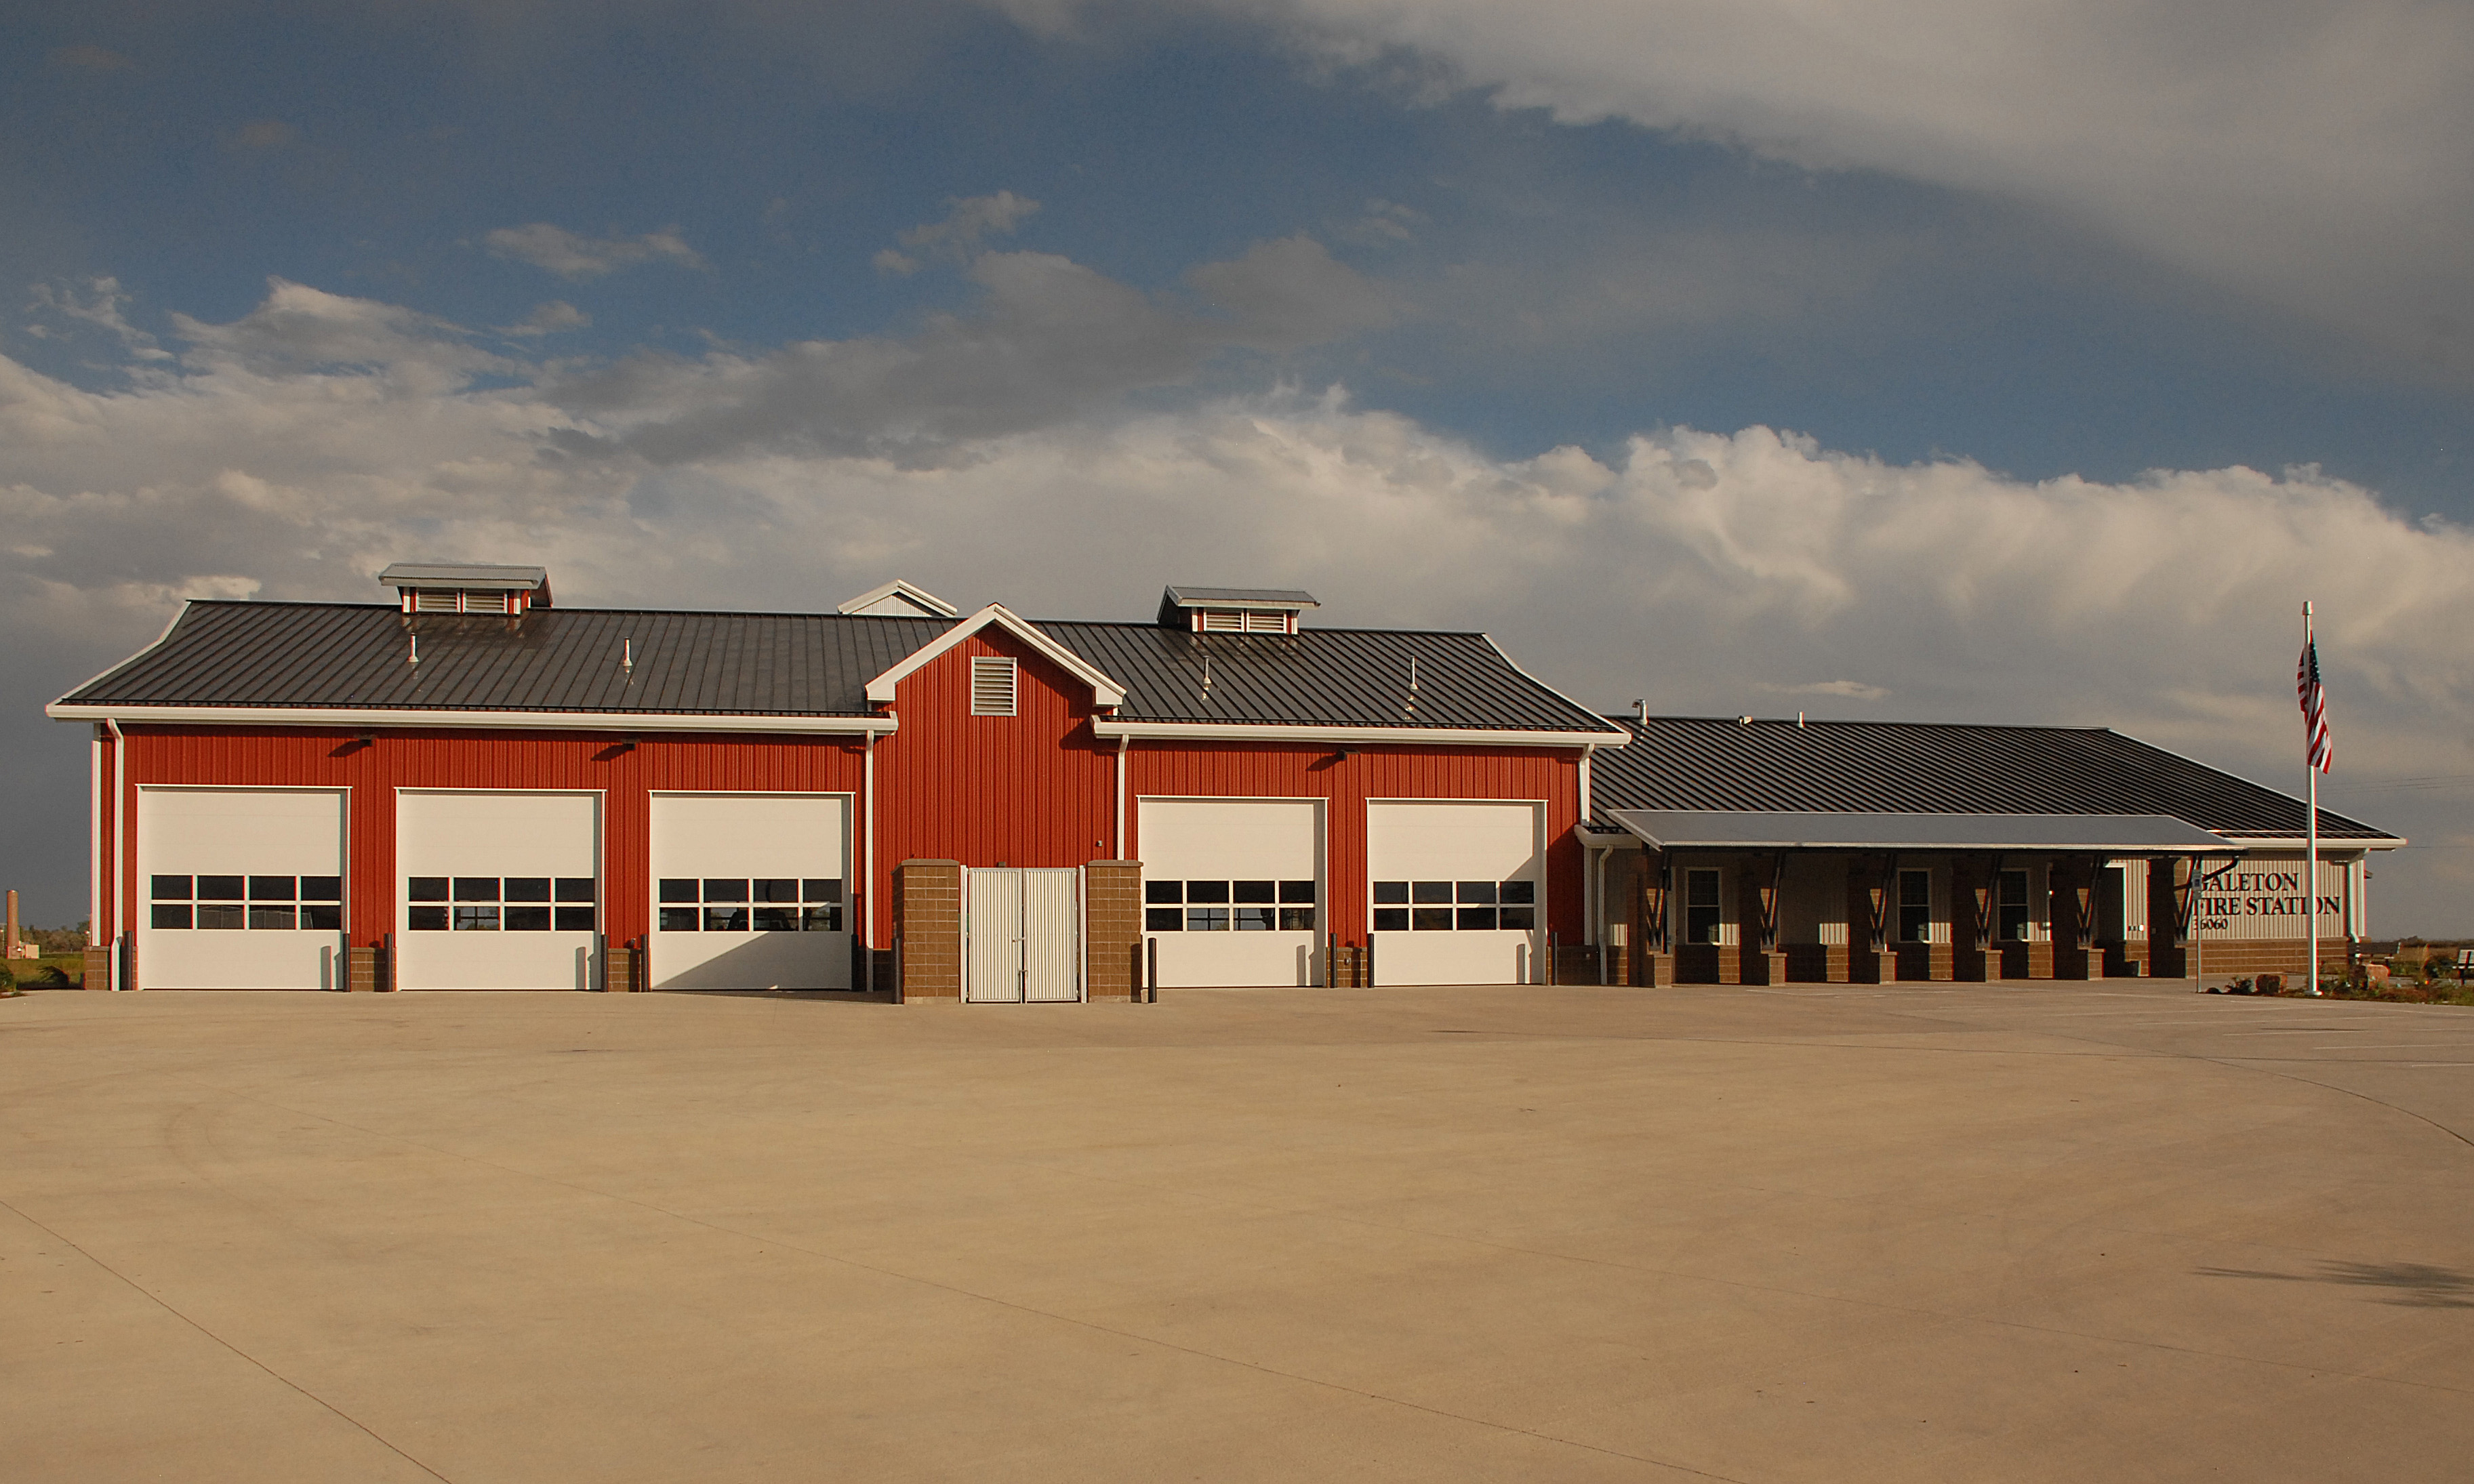
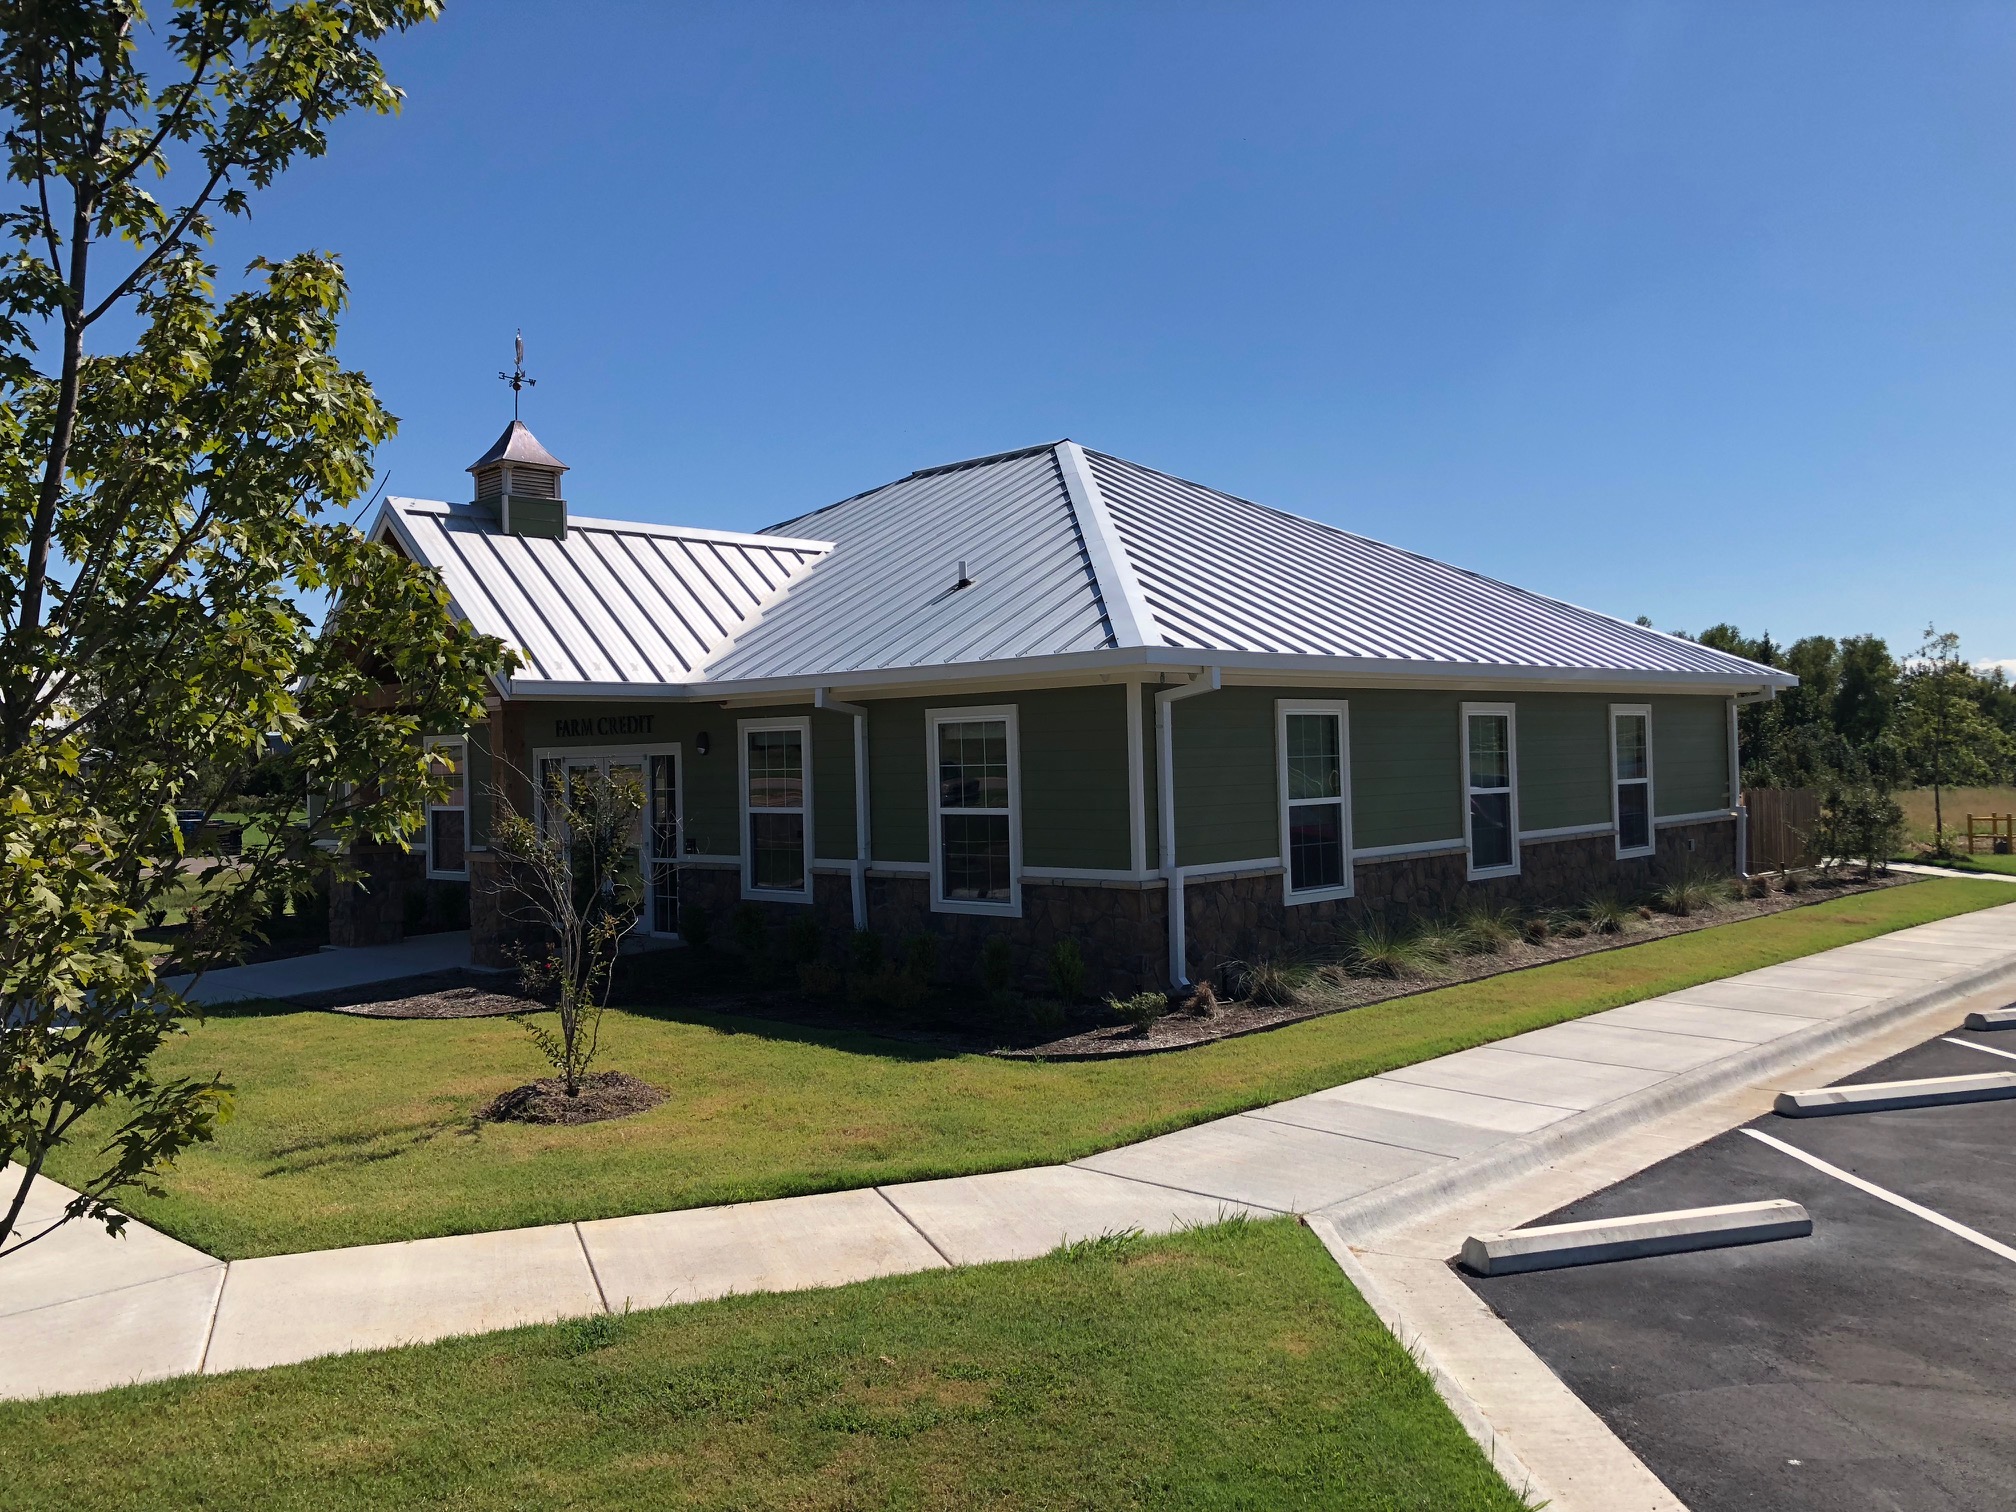
While we have pointed out the differences between these four different metal roofing choices, note that there are some basic similarities too. They all use high grade steel in standard gauge thicknesses and they can all be specified in the same wide choice of colors. They are all offered in multiple panel widths, although check with the manufacturer to be sure the width you prefer is available for the specific panel selected. They all can be used for low slope applications down to ¼” per foot except for the retrofit solution which requires a 3:12 pitch. Finally, they all do have some minor variations in the profile which can help with the final desired appearance of the finished roof on the building.

To find out more about the differences in roof deck types and how to choose the best ones for on a metal roof that you are involved with, contact your local MBCI representative, and sign up for our newsletter to subscribe to our blog.


Oil Canning and Flush Metal Wall Panels

Oil canning is a broad term in the world of metal panel products and is considered one of the most vexing issues facing metal panel installations. The Metal Construction Association (MCA) defines oil canning as a “visible waviness in the flat areas of metal roof and metal wall panels.” Oil canning, also known as elastic buckling or stress wrinkling, occurs in all types of metal panels. While it is a common concern, there are steps you can take to minimize the problem.

Here, we’ll focus specifically on oil canning/distortion with metal flush wall systems, which for MBCI products includes our FW Panels and Designer Series. The type of oil canning that occurs with flush wall systems is not caused by anything dealing with the product itself or with how it’s manufactured. Rather, it is a consequence of what installers are putting the metal panels on and how the installation is done.

Installers must verify the substructure is in frame to prevent oil canning of panels.
Installers must correct any out-of-plane areas of the substructure to prevent metal panels from oil canning.

The simplest way to explain the phenomenon is that if the substructure is out of plane, i.e., not in alignment, stresses are put onto the panels that will create an appearance of oil canning. After all, as the old adage goes, you only get out what you put in. In the case of flush metal wall systems, the panels will look no better than what they are put on top of. If the substructure is wavy, out of plane, up or down, in or out, that condition will affect the panels’ performance and appearance.

Certain tolerances will have an effect on the panels’ appearance. With MBCI’s FW and Designer panels, tolerances would be 1/4 inch and 20 feet outward (away from two attachment points) and 0 inch and 20 feet inward. This means that if panels are forced into an inverted convex position, they will show stress rippling or oil canning more severely than when they’re stretched over a concave position, i.e., there can be some tolerance outward but zero inward.

With these types of panels, the biggest concerns with oil canning/distortion are aesthetics, but performance problems are also of concern, including possible engagement or sealing of the side joints.

Minimizing Oil Canning/Distortion of Panels

Prior to installation, installers should be checking the substructure with string lines or lasers and correcting or shimming any areas that are out of plane, especially since oftentimes substructures, such as stud walls or structural walls that the metal panels are attached to, are installed by other trades. Metal panel installers need to scrutinize each aspect for alignment and then either correct or shim to bring it within tolerance and within plane.

As is true with any metal panel product, for best results, proper handling and installation go a long way towards preventing the problem of oil canning in the field.

To find out more on how to minimize oil canning on your MBCI metal wall panels, contact your local MBCI representative, and sign up for our newsletter to subscribe to our blog.

Appropriate Standing Seam Clips for Roof Panels

Part of the beauty and appeal of standing seam metal roofs is that the fasteners holding the metal panels in place are concealed. That gives the roof its clean, continuous appearance that is often desirable, but it also avoids the issue of potential roof leaks around exposed through-fasteners. Concealed fastening doesn’t mean that there aren’t any fasteners, though, it just means they are installed out of sight – underneath the panels. The industry standard approach is to use a metal clip that fits over the edge of a panel and that is secured with a screw type fastener to the structure or substrate below. Then it is covered by an adjacent panel or trim. The important thing to know is that not all panel clips are made the same – for good reasons.

What determines the type of panel clip to use? Here are the most common things to keep in mind:

The Manufacturer

Each manufacturer of metal roofing typically has a range of metal panel types, profiles, and brands that have their own traits and characteristics. As such, they need clips to match and fit with the manufactured panels. Hence, the first place to start with panel clip selection, is for the roofing manufacturer to be clear on the options and choices available that are compatible with their roofing products.

Building Size and Type

Fixed clips (left) and floating clips (right) are two of the most commonly used types of clips.
Fixed clips (left) and floating clips (right) are two commonly used types of clips.

Manufactured metal buildings that include metal roofing commonly use very predictable, coordinated systems. Accordingly, a standard, one piece, “utility clip” is commonly used, primarily for snap together roof panels, on metal buildings that do not exceed certain widths causing undue expansion and contraction. One piece clips allow the roofing panels to expand and contract within the clip profile, but there are limits based on the amount of movement tolerated. Alternatively, in projects where the roofing is attached to something other than a metal building frame or where standing seams are used to secure the panels together, it is advisable to use a two-piece or “floating” clip. In these cases, a base piece is secured to the structure or substrate and the clip fits both into the base and over the roofing panel where it is seamed or folded into the vertical leg of the panel. Using this approach, the clip expands and contracts directly with the metal panel thus moving across the base and keeping the roofing attached.

Insulation

Roof insulation comes in different thicknesses, appropriately so for different climate zones and different roof designs. Since energy codes require at least some of the insulation to fit between the underside of the metal roofing panel and the structure (i.e. above the metal roofing purlins), the metal panel clip needs to be the right height to reach the full height of the insulation up to the top of the roof panel. Hence, manufacturers offer different sizes and heights of panel clips designed to work with different heights of insulation. In many cases, they also recommend the use of a thermal spacer underneath the clip to separate it thermally from the steel structure below. Note that the thermal spacer thickness is dependent on the insulation thickness over the steel purlin only, not the thickness of any insulation under the purlin.

A certified installer should install your standing seam roof to ensure proper installation of clips.

Other Factors

The panel clips connect the roof panels to the roof structure, so they need to be installed in a manner that allows them to do that job under normal and demanding circumstances. The driving issue in this case is not keeping the panel down, but preventing it from blowing off in a strong wind. Therefore, a structural engineer or other design professional may need to determine the proper spacing of the clips, the type and size of fasteners (i.e. screws) to use, or similar important details. Similarly, the proper installation of clips so that they seat and nest the way they are intended, means that qualified and certified installers / erectors should be used. In this way, roofing crews with the needed experience and training can help assure that the whole roofing system, including the panel clips, are installed properly.

To find out more about the most appropriate panel clips to use on a metal roof that you are involved with, contact your local MBCI representative.

What You Need to Know About Insulated Metal Panels

Insulated metal panels (IMPs) are “lightweight, composite exterior wall and roof panels with metal skins and an insulating foam core” as defined by the Metal Construction Association (MCA). The outer skin serves as either metal wall siding or metal roofing using standard profiles, while the inner face serves as a metal interior finish or liner. The rigid insulation between the metal skins gives the panels their superior energy conservation properties and also provides a rigid core for extensive spanning capabilities across structural members.

With this basic make-up in mind, here are a few things you should know about using IMPs in a metal building project:

Building Types

Virtually any building being designed as a metal building should consider the use of IMPs. This includes all types of commercial, industrial, institutional, recreational and government buildings. More specifically, IMPs have been used very successfully on manufacturing facilities, schools, retail centers, offices, warehouses, power plants and many other building types.

Insulated Roofing and Walls Assemblies

IMPs serve as a complete wall or roof assembly. That means they can provide cladding, insulation, a water-resistant barrier, an air barrier, and finished surfaces all in one panelized product – essentially everything but the building structure upon which they are installed. These characteristics are true for conventional buildings as well as for specialty construction types such as the climate controlled processing, storage, or distribution of perishable food or other items. With panel thicknesses commonly available from 3 inches to 6 inches, walls and roofs can be designed to meet the specific thermal performance requirements of virtually any building need.

Aside from their thermal performance capabilities, IMPs have the versatility to achieve countless aesthetics for walls and roofs.

Architectural Design

IMPs are available in a wide variety of colors, widths, profiles and finishes, enabling virtually any aesthetic desired for walls and roofs. Further, architectural IMPs provide the freedom to address building-specific or unique circumstances with options such as custom shapes and widths, special custom colors and finishes, custom fabrication including, but not limited to bent corners, curved panels, and trimless ends. Architectural IMPs also offer options to integrate with windows, louvers, sunshades or other similar products to offer total building envelope solutions.

Panel Joints

Most IMPs are fabricated with the intention of working together as a complete system. That means attention has been paid to the design of the edges so the panels can interlock and be sealed to form a continuous joint that is water tight and air tight. In some cases panels may need to overlap, such as on long roof runs over 50 feet, but manufacturers have worked out those details to help assure the roof or wall performs as intended. Based on this, properly-installed IMP systems generally come with a very long warranty period.

Ease of Installation

The fact that IMPs are a single, finished, rigid panel, makes them quicker to install than other multi-product and multi-step assemblies. This translates to obvious labor savings and some material cost savings compared to other systems. Further, the simplified installation process has been shown to limit exposure to accidents, helping create a safer, more efficient work flow. It can also mean that construction time schedules are easier to meet or even beat.

To find out more about IMPs and ways to use their full characteristics and capabilities on a building you are working on, contact your local MBCI representative.

A Guide to Selecting the Right Metal Roof Panel

With the great variety on the market, one of the main questions we, as metal roof panel manufacturers, get from customers is “How do I select the right panel for my project?” The answer can generally be found by examining a number of criteria, including the properties of the roof, the region and climate, geometry, slope, warranty type…among other key factors.

Here we will provide a brief overview of the various factors that should be considered when narrowing down the choices.

Determining Factors

Slope-BattenLok
Steep slope roofs will usually be more expensive than low-slope roofs, but steep slope roofs have the ability to prevent ponding water and have higher snow loads.

1. Slope— Slope is the first consideration as just this one aspect will eliminate certain panels, making it easier to narrow down options right from the start. The two types of roof slopes are low slope and steep slope.

  • A low-slope roof, commonly found in commercial applications, is one whose slope is less than 3:12. The benefits include a simpler geometry that is often much less expensive to construct, and the requirement of fewer materials than a steep slope, thereby reducing material costs.
  • A steep slope roof, more common in residential construction, is one whose slope is greater than 3:12. Steeper slopes are ideal for areas that have higher snow loads and will also prevent the possibility of ponding water on the roof. Since the roof is a visible part of the structure, choosing a metal roof for residential construction often skews more toward aesthetic considerations.

2. Location/Climate— The location and climate of the project is a factor, specifically when looking at certifications/regulatory product approvals, which will limit the panels you can you use within specific regions. This is most relevant to Dade County, the state of Florida, and the Texas Coast, as well as certain snow regions.

3. Specified test standards—Often times, you may need to specify UL 580 or Factory Mutual Insurance Design.

4. Engineering Design—Due to the roof pressure acting on the buildings, engineering design factors eliminate some products because they’re simply not strong enough. This is an area that needs true technical expertise. For that reason, make sure to get a professional engineer to design the roof system in order to determine the correct panel for the project. Also, check with the manufacturer to determine if they have panels that have been tested to certain test standards. If they do not have the testing on a product, that in itself can exclude a particular panel.

5. Geometry—In its most basic terms, roof geometry is an overview of what the finished roof will look like, including special conditions, such as hips, valleys and ridges. The various conditions that go along with specific roof types will determine if a roof geometry is simple or complicated—which will affect the type of panel that can—and can’t—be used. For instance, a Double-Lok® roof panel can be used on a low slope roof—it can go down to 1/4:12. However, if a low roof slope condition has a valley, you may want to avoid a Double-Lok® panel since this product is more difficult to use in a valley situation.

Standing Seam - LokSeam
The LokSeam® roof pictured above is a standing seam roof, one of the two main types of roof systems.

6. Panel type— Panel types can be broken out into two main types: standing seam and through-fastened. The choice of specific product within these general categories depends on a number of considerations, including aesthetics and weathertightness warranties. If your project calls for either standing seam OR through-fastened, that will eliminate about half the types right off the bat.

  • Standing Seam Roof Systems
    In basic terms, there are four unique styles of metal standing seam panels: Double lock seam, symmetrical seam, one-piece snap-lock interlock and two-piece snap-lock interlock. These styles can be further delineated by seam shape or profile, i.e. trapezoidal rib, vertical rib, square rib and tee rib.
  • Through-Fastened Roof Systems
    Exposed, or through-fastened panels, are available in a variety of widths, usually from two to three feet wide. They also come in various rib shapes, heights and spacings. Typical gauges are 29 and 26, but they also come in 24 and 22 gauge. There are also structural and non-structural through-fastened panels. Structural panels are capable of spanning across purlins or other secondary framing members such as joists or beams. Non-structural panels must be installed over a solid deck. Through-fastened roofs are best suited to small- and medium-sized metal buildings and residential applications. In both instances, the panel runs are limited to shorter lengths where thermal movement is typically not a problem.

7. Substrate— Examples of substrates are open framing, plywood, and metal deck. Some panels can’t be attached, for instance, to open framing but almost every type of panel can attach to plywood.

8. Required Weathertightness Warranties— If a weathertightness warranty is a requirement, your options are down to the only panels offered with that guarantee—eliminating all the through-fastened panels.

Looking to the Manufacturer for Help

While specifiers need to take that initial look at all the determining factors, the choices can still feel overwhelming. Once you’ve eliminated the panels that surely won’t work, you will still likely be left with many strong choices. The metal panel manufacturer can guide you to that decision. We encourage you to contact the MBCI team of experts to help further narrow down the choices in order to finalize what is the best metal roof panel for your project. For more guidance on finding the right roof panel for your project, stay tuned for our white paper coming soon.

Preventing Roof Damage from Rusted Fasteners

These days, the majority of metal roofs are made from Galvalume coated steel, which typically carry a warranty against perforation due to rusting for a period of 20 years. A study on Galvalume standing seam roofs (SSR) conducted at the behest of the Metal Construction Association (MCA) showed that a properly installed Galvalume SSR can be expected to last 60 years or more.  However, the caveat is “properly installed”. One of the major issues that will drastically reduce the service life of a Galvalume-coated roof is the use of non-long-life fasteners in exposed locations.

Anytime you have an exposed fastener on a metal roof, you risk rust—the term commonly used for the corrosion and oxidation of iron and its alloys. While a little rust might not seem like a big deal, its presence can actually be a harbinger of severe damage to your metal roof panels if not caught early, or ideally, stopped before it ever has a chance to start.

The issue is most prevalent on R-panel roofs due to the use of exposed fasteners. And even with standing seam roofs, which use clips and are typically referred to as a concealed fastener roofs, there are exposed fasteners as well, most often at the eave, the end laps and at trim, such as ridge flash, rake trim, and high-eave trim.

Prevention

The best recommendation for any exposed fasteners (meaning they are exposed to the weather and other harmful elements), is that they should be long-life fasteners. When you don’t use long-life fasteners, they start rusting with exposure to moisture and, over time, the rust virus stretches down to the roof, causing severe and often irreparable damage.

Suppose you have a metal roof that is 10 to 15 years old. Depending on the environment, the roof could be in excellent shape—except for where those screws are; you can have holes right through the roof at the fastener locations. More people than ever are starting to realize they’re supposed to use a long-life fastener, in a case like this. We see a lot of roofs when we inspect them for weathertightness warranties. What often happens is a worker on the roof may have just grabbed some screws that were handy without thinking about the kind of screw or the inevitable chemistry that could potentially cause rusting. Or, you may have a situation where there is some type of accessory put on the roof by another trade, perhaps a plumber or an HVAC installer—and maybe they didn’t use long-life fasteners.

The best recommendation to mitigate this potential problem is two-fold. First, make sure roofing installers know to use a long-life fastener at every exposed location. Secondly, make sure that every other contractor working on the roof that you’re responsible for knows to use long-life fasteners with whatever they’re doing.


Fasteners
A long-life fastener (left) can withstand the elements and prevent rust buildup longer than other fasteners. A regular fastener (right) will begin to rust upon exposure to moisture.

What if rust does occur?

One question frequently asked is: if the fasteners do become rusty, do you have to replace all the panels? If you catch the problem before the rust virus makes its way down to the roof itself, you can just change out the screws. However, if the rust has compromised the roof, you very likely would have to change out all the panels, at the least everything that has been affected—just because of one little spot. Truthfully, if the rust is in one spot, it’s probably all over.

Another thing worth mentioning is if aluminum panels are used along with typical long-life fasteners, it could still rust, especially if the roof is exposed to salt spray (think close to the coast).  The answer in this case is to use a stainless steel screw, which are long-life fasteners (but not all long-life fasteners are stainless steel).

Be aware from the start.

It’s crucial for installers and contractors to take notice and order the right fasteners from the start so that problems can be avoided.

Also, after some wear and tear, if subsequent work is done on the roof, everyone involved should take note. For instance, you buy a building and somewhere down the road you decide to frame out a small office and add a bathroom. You’d need a water heater, so a plumber goes on the roof, puts in pipe penetration and doesn’t use long-life fasteners. The onus would be on the owner to ensure that everyone performing work on that roof—no matter when—is using long-life fasteners.

Conclusion

The best-case scenario with a metal roof is to get the right fasteners to begin with. However, if the roof is already installed, the next step is to be on the lookout for rust and if you notice it, consider that it might be because of the fastener.

If that’s the case and you catch it early—when it’s just the screws that are rusting but the rust virus hasn’t yet transferred down onto the roof, you can just change out the screws with the proper long-life fasteners. We recommend doing a roof inspection at least once a year. If you see any loose or rusty screws, replace as needed.

For more information on MBCI’s broad selection of metal roof and wall panels, contact your local MBCI representative.

Sealing the Deal: The Importance of Properly Sealing the Building Envelope Using IMPs and Single-Skin Panels

The primary purpose of a building’s envelope (roof and walls) is to protect the building’s interior spaces from the exterior environment and provide the desired exterior aesthetics. Whether choosing insulated metal panels (IMPs) for their superior performance or, instead, looking to the wide range of aesthetic choices available with single-skin panels—or some combination of the two—the common goal must always be to protect the building from the potential ravages of water, air, vapor, and thermal/heat. By ensuring proper installation of metal panels and, thereby, properly sealing the building envelope, problems can be mitigated, efficiencies maximized, and the integrity of the building protected.

Here, we’ll briefly consider the benefits of each panel, and some key considerations relative to their sealant needs and capabilities.

Insulated Metal Panels (IMPs)

IMPs are lightweight, composite exterior wall and roof panels that have metal skins and an insulating foam core. They have superior insulating properties, excellent spanning capabilities, and shorter installation time and cost savings due to the all-in-one insulation and cladding. In effect, IMPs serve as an all-in-one air and water barrier, and are an excellent option for retrofits and new construction. With their continuous insulation, roof and wall IMPs provide performance and durability, as well as many aesthetic benefits.

IMPs offer excellent R-value and improve energy efficiency to the building envelope.

Generally speaking, because of the nature of the joinery, it is easier to get a good seal in place with IMPs given their relative simplicity (i.e., putting the two pieces together with the sealant). They require great attention, though, in terms of air and vapor sealing—aspects largely controlled by the installers on a given project. As an example, vapor sealing in cold climates or applications is critical to the overall soundness of a building. Consider the damage a building could incur if moisture seeps into a panel and becomes trapped; it if freezes, it could push panels out of alignment. This would result in not just an unattractive aesthetic, but a performance failure as well. In order to be effective, all sealant and caulking must be fully continuous.

Single-Skin Panels

Single-skin panels, alternatively, offer the advantage of an expansive array of colors, textures and profiles. They are also thought to have more “sophisticated” aesthetics than IMPs. Single-skin panels are available in both concealed fastener and exposed fastener varieties, and are part of an assembly. They can be used alone or in combination with IMPs, and as long as the needed insulation is incorporated, single-skin panels can meet technical and code requirements, depending on the application. Single-skin products offer a wide range of metal roof systems and wall systems as well.

Getting the proper seal on single-skin panels may require extra sealants or closures, and have more parts and pieces that have to come together to create the seal. However, when properly installed and sealed, they can provide excellent performance in their own right. Some key caveats include ensuring panel laps are properly sealed with either tape or gun butyl sealants, and carefully inspecting air and water barriers for proper installation as well as penetrations through the wall for sealing/fire caulking prior to panel.

In most cases, following the details for the most common conditions will give you a successful and high-performing outcome.

Regardless of the type of metal panel used, taking the time and effort to ensure the sealing and caulking details are properly handled, metal buildings can protect the built environment and provide long-lasting quality and performance.

The Importance of Roof Installer Training and Certification

Many metal roofing installers may think that their years of experience on the job is enough. But even for those who have been putting up metal roofs for a long time, the truth is that if they haven’t put up a particular brand’s roof before, they need to go through that manufacturer’s installer training and get certified. There are several reasons for this.

  • More and more, architects are starting to specify that an installer must be certified by the manufacturer of the product being installed.
  • For many manufacturers, including MBCI, in order to get a Standard III warranty with no dollar limit—or any Day One warrantytraining and certification are required.
  • Installers need to know the proper technique and protocols—for a particular manufacturer’s product! After all, you don’t make any money by going back and fixing leaks.

There are many other standing seams that are very similar to those that MBCI sells, and while they may look similar, there will be a number of small differences, such as the way panels are notched or the way sealants are put in. Even the way companies test panels can be different. For instance, if you have a Florida or Dade County approval or an FM approval, that’s all tied into the way the roof system is tested. So, if someone has a project where one of those things is required, it is imperative to make sure the installer is using that brand’s system of doing things, down to every last detail. These are some of the things covered in certification courses.

Certification Courses and Installer TrainingInstaller Training

At MBCI, we offer a three-day course that covers all of our standing seam panels, and have a separate two-day course for insulated metal panels, which provides advanced installer training in metal roof installation through classroom lecture and hands-on application in a variety of MBCI’s products, assembling roof systems on a mockup to reinforce what was learned from the presentations. Courses take place once a quarter in different locations throughout the United States.

In terms of who should attend certification courses, generally speaking, it’s the person from the company who will be doing the actual work since a certified installer needs to be on the roof any time any work is being done on the roof. He or she is the one we train. And that installer is tied back to the company in order for them to receive certification. That company has to have workman’s comp and general liability insurance. If the certified person leaves the company to go elsewhere, the first company needs to certify someone else.

The Bottom Line of Certification

From a bottom line perspective, it’s important for companies to be proactive in making sure there is always someone on their team who is a certified installer for the products they use—or might use. Not only will they learn tips and tricks for proper installation, but it will also avoid a situation where you have a job, the panels are being delivered the next week and you realize you need someone to be certified. Maybe it’s three weeks until the next certification opportunity. You’ll want to have all that settled before you need it.

Just because you’ve been installing roofing for 30 years, doesn’t mean installer training and certification isn’t necessary. Our best advice is to come to the class and learn all the little idiosyncrasies about whatever manufacturer’s roofing panels you’ll be installing. This is a case where even a little knowledge goes a long way.

Proper Test Methods to Determine Thermal Resistance of Metal Panels

For a given assembly, if the right information is not specified in conjunction with the desired R-value, the designer will likely not achieve the results he or she expects. This can lead to code compliance issues as well as poor performance of the finished building. Therefore, a more thorough approach must be considered to ensure the specified assembly will be building energy efficiency code compliant. Where to begin? When looking at proper test methods to determine thermal resistance of metal panels, the place to start is ASHRAE 90.1 Chapter 5 (Building Envelope) and Appendix A.

Thermal Resistance
ASHRAE 90.1 Section 5 specifies requirements for the building envelope.

Code Compliance for Thermal Resistance

The most widely accepted energy efficiency standard for commercial construction in North America is ASHRAE Standard 90.1. This standard provides both a prescriptive and a performance path to be chosen at the designer’s option. The prescriptive path is most commonly used. It also provides the baseline performance level that is used to determine compliance for the performance path, so understanding this set of requirements is critical. Within the prescriptive path, two possible methods of compliance are available to determine the minimum thermal performance of opaque areas on the building envelope. Section 5.5.3 is the pertinent passage and it reads:

  1. Minimum rated R-values of insulation for the thermal resistance of the added insulation in framing cavities and continuous insulation only. Specifications listed in Normative Appendix A for each class of construction shall be used to determine compliance.
  2. Maximum U-factor, C-factor, or F-factor for the entire assembly. The values for typical construction assemblies listed in Normative Appendix A shall be used to determine compliance.

Exceptions: For assemblies significantly different than those in Appendix A, calculations shall be performed in accordance with the procedures required in Appendix A.

What does this mean? Basically, there are standard types of construction that ASHRAE recognizes and if you have a wall that fits the description in Appendix A, you don’t have to test or do anything special to determine its thermal resistance. Appendix A provides tables based on calculation methods that have been derived on the basis of previous tests and general experience. What is perhaps less obvious is that if your assembly is adequately described by one of the standard assemblies in the Appendix, you may NOT use a tested or modeled value in place of the values in the table, even if that value has better performance! (i.e., lower U-factor) This is explained in Section A1.2.

The reason the code is set up this way is to prevent people from building unrepresentative assemblies that achieve high performance in the lab but are likely not built to the same specifications in the actual building.

Conversely, if the assembly you want to use is NOT adequately described in Appendix A, the appendix goes on to specify which methods are acceptable to determine the U-factor based on the assembly to which it is most similar. This is covered in Section A9. Two and three-dimensional finite element models are always acceptable and in some cases, simplified calculation alternatives are also available. Note that hot box testing is not always allowed.

Conclusion

To summarize, whether using a prescriptive or a performance path, the first and last stop when determining thermal resistance for metal panels is ASHRAE Standard 90.1 Chapter 5 and Appendix A. Designers would be well advised to familiarize themselves with the Standard and the specific set of requirements for their particular scenario in order to utilize proper testing methods for high-performance results.

Proper Cutting and Cleaning of Metal Building Panels

Metal building panels, whether for roofing or walls, are manufactured with a long-lasting and durable finish of different types and in many colors, allowing the panels to hold up and look great for decades. However, once they get to the building they may need to be cut to fit a field condition, or they may need to be cleaned either during or after installation for any number of reasons. Innocently doing either, without understanding that doing it the wrong way could compromise the integrity of the finish, can be disconcerting at best or warranty-buster at worst. Here are a few tips for the proper cutting and cleaning of metal panels.

Cutting Metal Panels:

Field cutting of panels is certainly allowed and acceptable to manufacturers and is common, particularly at framed openings. However, there are two things to pay attention to here:

  • Cutting Method: If field cutting is required, the panels must be cut with nibblers, snips or shears to prevent edge rusting. Do not cut the metal panels with saws, abrasive blades, grinders or torches. Abrasive saw blades, grinders and torches can leave irregular or rough edges that are no longer coated or finished, thus causing rust and corrosion.
Metal
Corrosion on this panel edge is due to an abrasive saw blade cut.
  • Cutting Location: All cutting of metal will produce fine particles, or swarf, that will fall from the cut. If this swarf falls on the roof, it can cause permanent staining and, if enough of it accumulates in one place, it could rust completely through the metal roof panel. Therefore, never cut metal panels on the roof or over other metal panels. It is best to cut the panel down on the ground where the swarf can be captured and disposed of.
Metal
Accumulated swarf from cutting is staining this metal panel.

Cleaning Metal Panels:

Metal panel manufacturers will usually provide information and directions for cleaning. A typical set of cleaning recommendation follows, based on a progression of cleaning levels—start with number 1 and work your way down the list for tougher jobs.

  1. For simple cleaning, water and mild detergent will often be all that is needed. However, bleach should never be used, since it can change the finish color or interact disastrously with certain metals.
  2. For water-soluble dirt or other deposits requiring more complete cleaning, a solution of hot or cold water mixed with detergent is appropriate. In a container of water, use a 5 percent solution of commonly used commercial (non-industrial, non-bleach) mild detergent, so as not to have any deleterious effect on the painted metal surface. Use a cloth or a soft-bristle brush for application of the cleaning solution, followed by an adequate rinse with clean water. Alternatively, pressure-washing with a 40° tip is also an option.
  3. For non-water-soluble deposits such as tar, grease, oil and adhesives, a solvent or alcohol-based cleaner may be required. In this case, since most organic solvents are flammable and/or toxic, they must be handled accordingly. Generally, keep them away from open flames, sparks and electrical motors. Use adequate ventilation, protective clothing and goggles, and read the manufacturer’s Material Safety Data Sheet (MSDS) of any solvent used for any other specific safety details. The following are among the cleaners recognized by manufacturers for this type of non-water-soluble cleaning:
    1. Alcohols
      1. Denatured alcohol (ethanol)
      2. Isopropyl (rubbing alcohol)
    2. Solvents
      1. VM&P naptha
      2. Mineral Spirits
      3. Kerosene
      4. Turpentine (wood or gum spirits)

Regardless of the level of cleaning required, never use wire brushes, abrasives, or similar tools that will abrade the surface coating and leave scratches or other finish damage and lead to corrosion. Further, keep in mind that any misuse or abuse of any of the acceptable cleaning agents will automatically void any manufacturer’s warranty for the affected surfaces.

By using the tips above to properly cut and clean metal panels, installers can avoid the problems of corrosion, staining or other surface damage. Thus, the integrity and beauty of the finish is maintained without any impact on the warranty. To learn more about metal panel finishes, cutting, cleaning and warranties, contact your MBCI representative.

Find a sales representative