Cornerstone Building Brands, Inc. (“Cornerstone Building Brands”), a leading manufacturer of exterior building products in North America, has acquired Metal Sales Manufacturing Corporation (“Metal Sales”), a leading manufacturer of metal building systems and components serving high-growth and diverse end-markets through a vast, multi-channel network.
Headquartered in Sellersburg, Ind., and founded in 1963, Metal Sales has about 900 employees and a nationwide footprint that is highly complementary to Cornerstone Building Brands’ existing operations.
“The Metal Sales acquisition increases Cornerstone Buildings Brands’ participation in the high-growth residential building systems market,” said Matt Ackley, President, Shelter Solutions at Cornerstone Building Brands. “With a combined post-transaction footprint of more than 100 plants and distribution locations for our Shelter Solutions business, we’ll be better positioned to serve North American customers in the $30 billion metal building and components market. We’re excited to welcome the Metal Sales team to our company.”
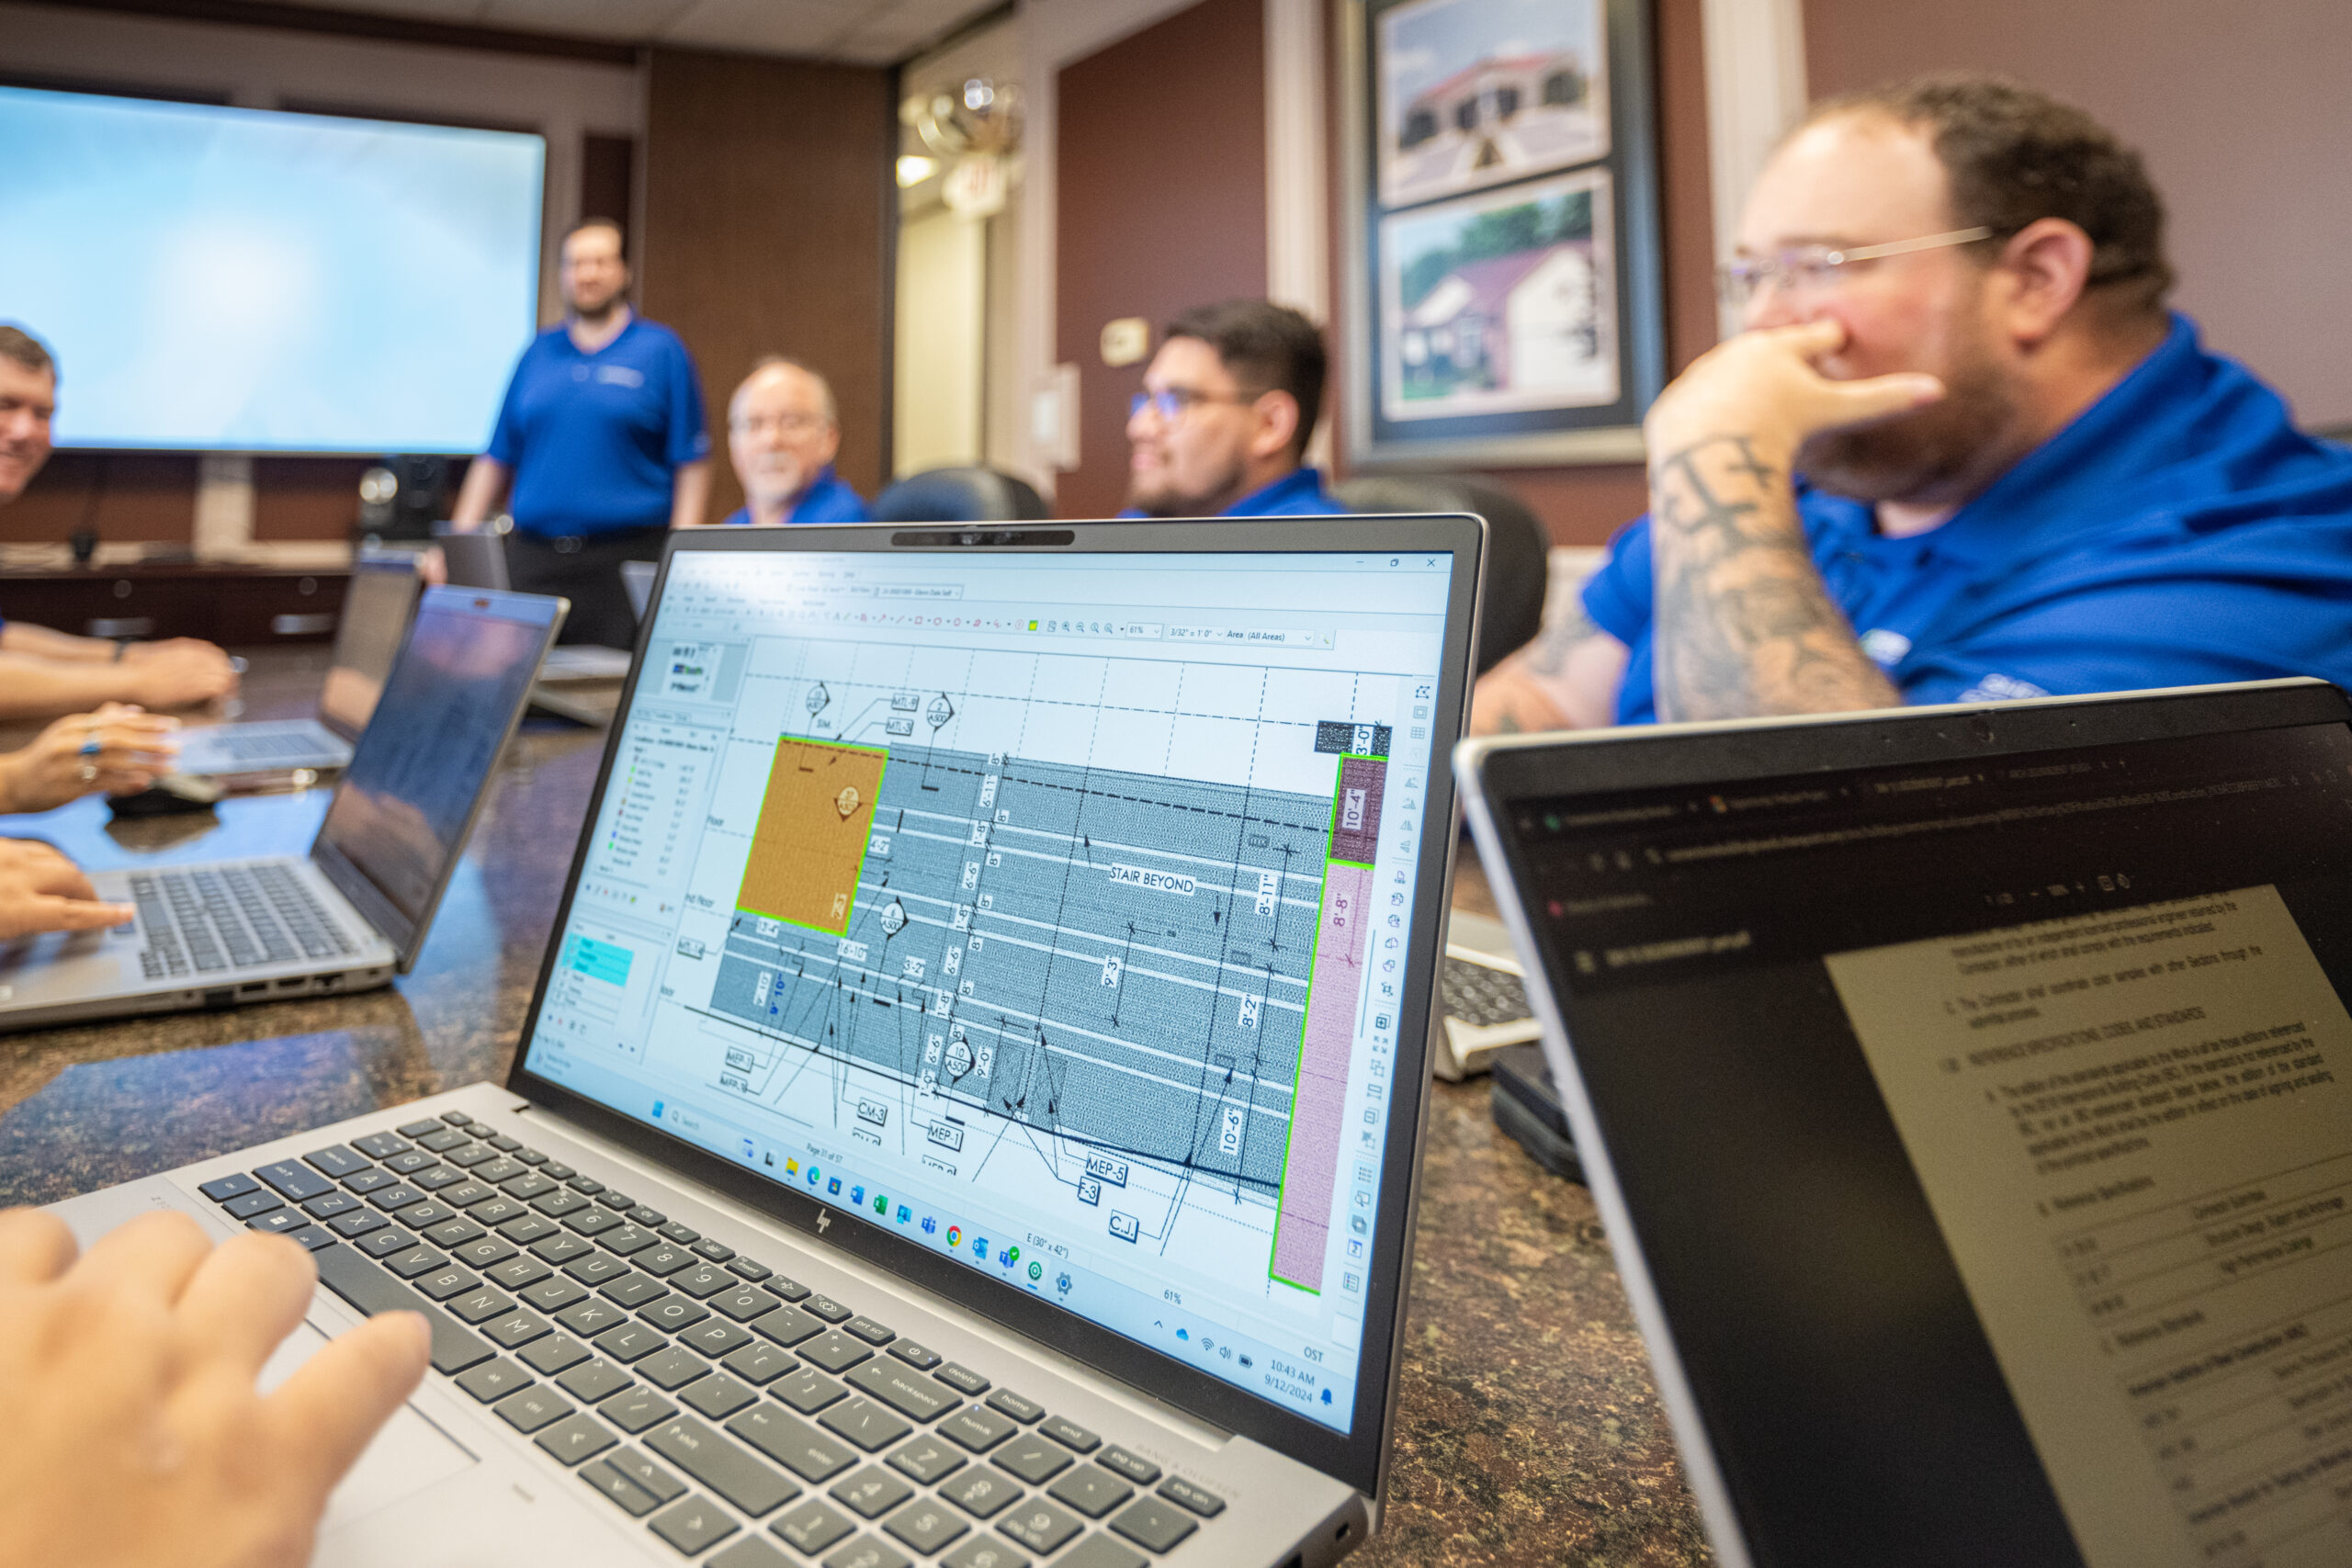
In the world of metal building construction, estimating is a critical component of any successful project. At MBCI, we recognize the importance of providing accurate, timely, and professional estimates with comprehensive bids so that you know your exact cost and have the information you need to win the project. Our streamlined estimating process is designed to deliver precise quotes efficiently, helping to ensure your project’s success from the start.
Clarity Is Key: Providing Complete Project Details
Providing complete and detailed information is essential to receive the most efficient estimate for your project. Here are some key elements to include:
Detailed architectural drawings: These are crucial for understanding the scope and specifics of your project. They provide a visual representation that helps in planning and executing the construction process accurately.
Specify all desired products: Whether it’s roofing, walls, soffit, or fascia, be clear about what you need. This specificity helps avoid confusion and ensures that the right materials are used.
Indicate different product types: Clearly mark different product types for various building sections. This helps organize the construction process and ensures that each section is constructed with the appropriate materials.
Multiple buildings: If your project includes multiple buildings, be sure to document this information, as it impacts overall planning and resource allocation.
Special requirements or deadlines: Let us know of any unique needs or time constraints up front so we can tailor our services to meet your project needs.
What Our Estimating Team Delivers
Our estimating team is committed to providing comprehensive and detailed estimates, including:
Detailed product cost breakdowns: Get a breakdown of costs for each product, helping you manage your budget effectively.
Color-coded architectural drawings: Visualize product placement easily. Our architectural drawings can help you understand where each product will be used, making the construction process smoother.
Complete material lists: Our comprehensive offering includes everything from major components to fasteners, ensuring you have everything you need for your project.
Accurate square footage and linear footage calculations: Ensure precise measurements for your project. Accurate calculations are crucial for ordering the right amount of materials and avoiding waste.
Quick turnaround times: Our dedicated team’s efficient process ensures you get a complete bid based on your requested bid date.
Tools for Success
To facilitate a smooth estimating process, ensure you have the following:
Architectural drawings: Essential for accurate planning.
Clear Scope of Work: Define what needs to be done.
Project timeline/deadlines: Keep your project on schedule.
Product preferences: Specify any particular brands or types.
Special pricing requirements: If applicable, let us know about any pricing considerations.
Why Details Matter
The more complete the information we receive upfront, the faster we can process your estimate without interruptions or delays. This attention to detail helps us maintain our commitment to quick turnaround times and ensures you receive the accurate quote you need.
Our dedicated estimating team works closely with project coordinators and sales managers to address every detail. We understand the pressure of tight deadlines, and our streamlined process is designed to help you meet those challenges head-on.
Ready to get started? Contact your Project Coordinator today with your project details. We’re here to help make your next metal building project a success. Also, don’t forget to visit our Project Services page to learn more about all the services we offer.
There are few things in life that hold as much value as time. It’s often filled with family, meaningful experiences, progress, and everything in between. Because time feels endless, it’s easy to view preparing for something uncertain—like a hurricane—as unnecessary or premature. But as William Shakespeare once said, “Better three hours too soon than a minute too late.” When it comes to hurricane preparedness and protecting property from severe weather, this couldn’t be truer.
At MBCI, we’re committed to providing high-quality products that, when properly installed and maintained, help protect what matters most. As hurricane season begins, our team is focused on ensuring that you, your customers, and the properties they value are as safe and secure as possible.
In this blog post, you’ll find a hurricane preparedness guide tailored for contractors, featuring essential supplies and safety recommendations to help your customers get ready for severe weather. We’ve also highlighted storm-resistant materials, including Miami-Dade certified products, for those looking to invest in durable, code-compliant metal roofing solutions.
Food and Water
Let’s start with the basics. It’s important to have a sufficient stock of food and water on hand for emergencies during hurricane season. Ideally, you should advise homeowners to store a three-day supply of water and food for each individual in their household. Be sure to consider any children or nursing mothers, as they typically require more water and nutrition than the average adult.
First Aid Essentials
A comprehensive first aid kit is crucial in any emergency situation. When professional medical assistance is unavailable, having the supplies to quickly manage injuries is invaluable. It’s also wise to encourage customers to stock essential over-the-counter medications to relieve any discomfort or symptoms that could arise from injuries.
Tools and Supplies
Often, when utilities are disrupted during emergency situations, having the appropriate tools readily available to support needs and comfort goes a long way. Utilizing a battery-operated radio will ensure you and your customers receive crucial updates and information disseminated to the public. They should also keep a few flashlights and extra batteries in case the power goes out.
Miami-Dade and FL Approved Products
Regarding the home or building itself, taking the time to choose the best materials to ensure resilience during hurricane season is vital. If your customers are seeking metal panels to replace older asphalt shingles, or simply to install on a new structure, our PBR metal roof and wall panels are ideal for a variety of construction applications. With outstanding durability and a range of finish options, these panels are Miami-Dade certified and also possess FL Product Approval. They offer straightforward installation directly over purlins or joists, providing a trustworthy and visually appealing solution for your building requirements.
For your customers in the Industrial, Commercial, and Architectural industries, a great option is the Double-Lok™ roof panel, which is a mechanically field-seamed roof system. Double-Lok™ panels require a minimum slope of ¼:12 and is UL-90 and FM rated with Miami-Dade County approvals. If your customers are looking to upgrade their roof to a standing seam, then installing our Double-Lok™ roof panel over their existing R-panel roof without the need for sub-framing is an excellent choice.
Lastly, another great choice that is both Miami-Dade certified and FL Product Approved is the SuperLok® panel. These are impressively designed, mechanically field-seamed standing seam roof systems, and offer the unique combination of a 2-inch slim rib and outstanding uplift resistance, making it a hardy choice for any customers whose building is frequently exposed to harsh weather conditions.
Clothing Essentials and Special Items
During emergencies, it is important to select clothing that is both robust and weather-resistant if possible. For your safety, and the customers you service, we suggest keeping at least one change of clothing, specifically chosen for comfort and durability. Choose sturdy, closed-toe footwear and ensure easy access to durable yet comfortable socks and outerwear. For infants, children and adults with special needs, always ensure additional accommodations are arranged well in advance to guarantee comfort. Create a detailed list of all medications and dosages required and the frequency with which they are taken.
Cultivating Confidence Through Hurricane Preparedness
As we move through hurricane season, it’s important to remember that storm preparedness is more than a checklist—it’s a reflection of our commitment to the people and properties we serve. Taking the time to equip your team and your customers with the right resources and emergency supplies not only protects your metal building projects but also builds trust and peace of mind that lasts long after the storm.
At MBCI, we’re here to support contractors with expert guidance, resilient building materials, and Miami-Dade certified metal roofing solutions designed to stand up to extreme weather. If you’re in need of more information on our product suggestions, feel free to connect with our team. Together, we can strengthen every structure and safeguard the memories that are made within them.
Stay safe, stay prepared, and continue lookingoutfor one another.
As we transition from the cooler months and make way for spring’s vibrant energy, now is the perfect time to revitalize not just residential spaces but also the metal building you work to build or enhance. This comprehensive guide will provide you with the essential techniques to master your spring cleaning and remodel projects checklist, ensuring that your clients’ spaces are ready to embrace the sunshine and warmer days ahead.
Start from the Top: Roof and Gutters
Kick off your spring cleaning routine by thoroughly assessing the roofs and gutters of the buildings you manage. It’s vital to check for damaged panels, clogged gutters, and signs of wear that might have developed over the winter. Well-functioning gutters are essential for directing rainwater away from the building’s foundation, helping prevent costly water damage and expensive repairs. For optimal roof performance, consider recommending MBCI’s metal roofing options. We offer exceptional products such as our BattenLok® HS panel,known for its tall rib height that helps channel high volumes of melting snow and rain to the gutter system.
While many focus on decluttering the interiors of buildings, it’s equally important not to overlook the roof, which is the first line of defense against the elements. Although asphalt shingles have been the go-to choice for many, studies by the Metal Roofing Association show that metal roofing panels outshine them in many ways, offering up to three times the lifespan and significantly reduced maintenance costs
»Pro Tip: For safe ground-level inspections, start by utilizing binoculars to identify potential roofing issues before retrieving your ladder.
Check Those Tree Limbs
Spring marks the season when trees begin to sprout again, making it a crucial moment to inspect potentially dangerous or overgrown branches that could jeopardize the integrity of the roofing. Encourage clients to trim any overhanging branches that could cause damage or scrape the roof surface. If your assessment reveals significant roofing or siding damage, we recommend using the LokSeam® panel for its ability to be installed over open framing or a solid substructure. This panel is also ideal for transitioning from roof to fascia with the use of a rib cover, all while delivering an excellent blend of function and form.
As we embrace the rejuvenation and growth that spring signifies, we must also remember that it can bring unwelcome visitors like moss and mold – both of which can overwhelm a surface if not properly managed. These nuisances can harm your roof and siding, leading to diminished energy efficiency and driving up utility bills. If these problems are detected, consult with a professional and consider replacing them with a metal panel for simpler upkeep. Our experienced team can guide you through the process and offer suggestions that meet your needs.
Consider the Environment
For contractors prioritizing eco-friendliness in their projects, MBCI offers numerous environmentally conscious solutions. Our new MasterRib® panel stands out in the market, offering superior durability due to its composition of high-quality metal and optional Drip Stop technology benefits. This panel is widely used because of its versatility, making it an ideal fit for agricultural, light commercial, and residential buildings. For those interested in sustainable building practices, don’t miss our blog post on the environmental advantages of metal roofs – your one-stop resource for green building insights
For a quick and easy refresh of your metal building exteriors this spring, a thorough rinse with a garden hose at normal pressure can effectively remove winter’s grime from metal roof and wall panels. Follow this up with some touch-up paint formulated for metal panels to elevate the building’s curb appeal. If you wish to avoid repainting chipped surfaces for years, consider replacing them with metal panels, as MBCI’s offers a variety of colors to suit many design aesthetics. Our extensive selection is adaptable and compliments numerous building aesthetics. Also, remind clients to clean windows inside and out for a crystal-clear view of the blossoms that springtime will bring. You’d be surprised at the dramatic transformation that results from these seemingly minor adjustments!
Addressing these concerns upfront can save substantial repair costs down the line. MBCI’s FW-120 is a strong contender for those who need to cover large composite wall areas, and helps keep air and water out under various pressure levels with proper design and installation. If you’re uncertain about handling these tasks independently, don’t hesitate to seek assistance from our experts, who can provide you with the guidance you need to deliver a revitalized metal building for your clients this season. Ready to elevate your metal building remodels this spring? Let’s quickly review how to initiate your exterior cleaning process:
Begin by inspecting roofs for loose panels, missing sealants, obstructed gutters, or any damage from winter.
Assess for moss or fungus on both your roof and siding. If damage is significant, contact a professional to assist you with removal, and consider one of our suggested metal panels for a low-maintenance solution.
Rinse your roof and wall panels for a fresh start. Follow up with proper touch-up paint for an instant upgrade.
Make sure you wipe down both the inside and outside of your windows.
Clear away any fallen foliage around the building.
Evaluate if anything needs replacing and contact our experts for assistance with the perfect product selection.
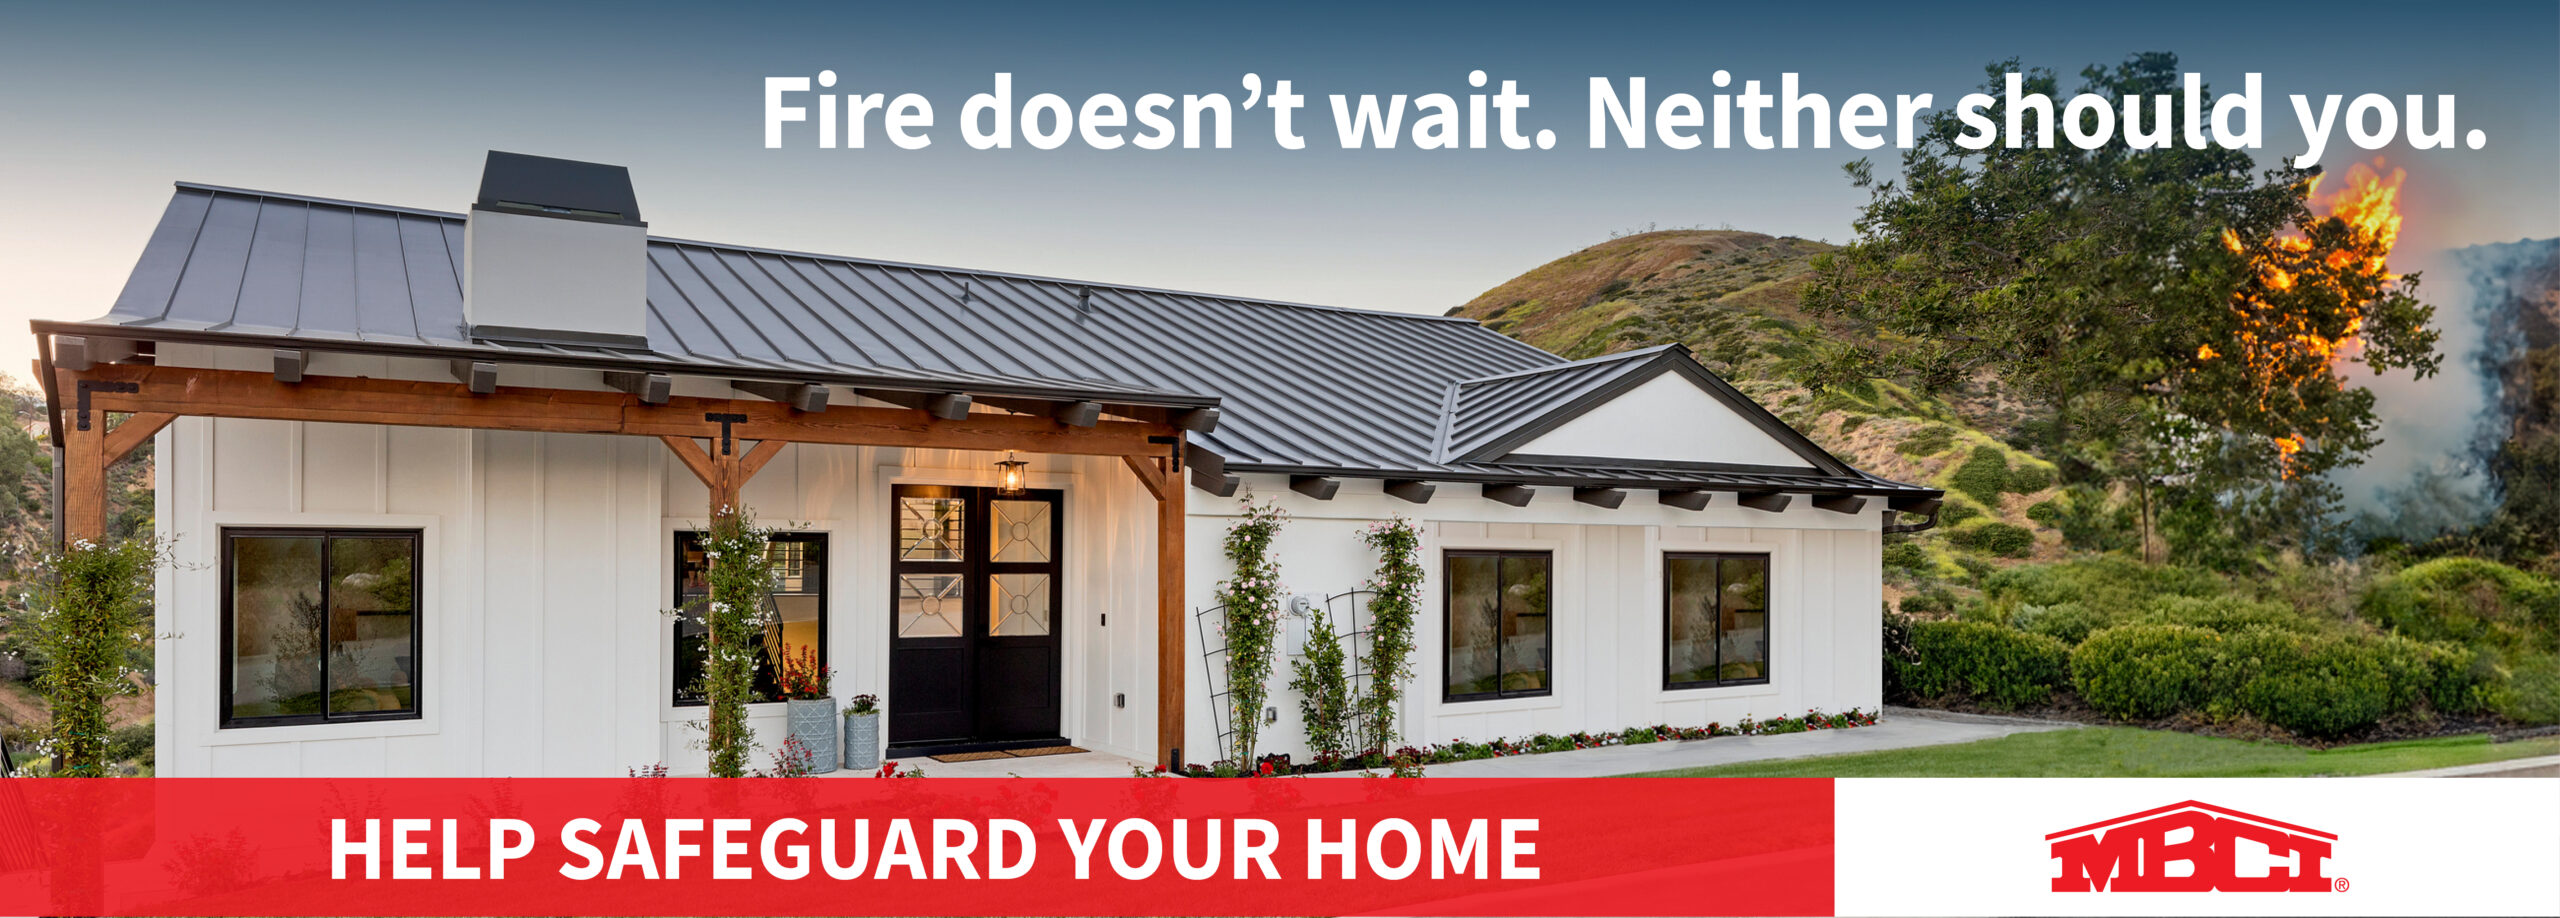
When building or renovating a property, selecting materials that prioritize safety alongside performance is essential. Metal roofing has emerged as a leading solution that offers comprehensive protection for homes and businesses. Here are five compelling reasons why metal roofing should be considered for optimal fire safety and structural protection.
1. Superior Fire Resistance Properties
Metal roofing provides exceptional defense against fire hazards. As a non-combustible material carrying the highest fire resistance rating (Class A), metal roofs can withstand extreme temperatures without igniting. This crucial characteristic helps protect structures from heat and airborne embers that might otherwise compromise roof integrity during fire events.
2. Long-Term Value and Protection
The investment in a metal roof delivers substantial returns through:
Minimal maintenance requirements
Exceptional durability spanning decades
Enhanced structural protection
Potential insurance premium reductions in many regions
These advantages create significant economic benefits for property owners seeking both protection and value.
3. Sustainability and Environmental Benefits
Metal roofing represents a responsible choice for environmentally conscious construction. These systems:
Often incorporate recycled content
Remain fully recyclable at end-of-life
Reflect solar radiation, improving energy efficiency
Support sustainable building practices and reduced resource consumption
4. Efficient Installation and Performance
Metal roofing offers practical advantages during construction or replacement projects. Its lightweight nature and installation efficiency mean reduced project timelines. Contractors can rapidly secure structures with roofing that provides immediate, comprehensive protection against multiple environmental threats.
5. Design Flexibility and Curb Appeal
Today’s metal roofing systems combine safety with sophisticated aesthetics. Available in diverse colors, styles, and finishes, metal roofing complements any architectural design while delivering uncompromising protection. Property owners no longer need to choose between safety features and visual appeal.
Selecting metal roofing represents a commitment to building resilience, sustainability, and long-term protection. Whether for residential or commercial applications, metal roofing delivers multi-dimensional benefits that extend well beyond basic shelter.
Ready to explore fire-resistant roofing solutions? Contact our team to learn how our premium metal roofing systems can enhance your property’s safety and performance.
Back in the days of the Wild West, “branding” meant leaving your unique mark on your cattle to claim ownership across the sprawling range. It symbolized identity and loyalty for those who rode the trails. In today’s fast-paced business landscape, branding still revolves around leaving a mark, but it’s no longer about physical property. Today, it’s about carving a lasting mental and emotional impression in the minds of your customers. For your roofing company, that means crafting a brand that reflects your values and rises above the digital noise of the crowded construction industry to get noticed.
What Is—and Isn’t—a Brand?
Let’s break it down. A brand isn’t your logo, your website, or even your latest roofing service. It’s not what you say it is. Instead, it’s the perception and emotional connection your customers form based on their experiences with your business. It’s the gut feeling they get when they hear your name or see your trucks roll by. Your brand is the sum of every interaction, from a quick estimate to a finished roof, shaped by how your customers feel about you.
1. Brand Awareness in 2025
Today’s data shows people encounter upwards of 10,000 brand messages daily—double what they faced in 2020—thanks to the explosion of AI-driven ads, immersive platforms, and endless scrolling. For your roofing company, standing out isn’t just about having a solid service; it’s about cutting through this clutter with a memorable brand campaign. Research still holds that people retain only 10% of what they hear after three days, but pair that with a striking visual, like a drone shot of your latest roof install, and retention jumps to 65%.
Your brand needs to be bold, shareable, and consistent to stick in people’s minds. Studies now suggest a brand takes 7–10 impressions to register in today’s oversaturated market. Your job? Get prospects and customers buzzing about your work—liking, sharing, and talking about it across their networks. Nail that a few times a week, and you’re on track to dominate your local scene.
Here’s how to make it happen with today’s top tools: traditional marketing, website development, search engine optimization (SEO), email marketing, social media, and cutting-edge digital strategies.
2. Traditional Marketing
Traditional channels like billboards, radio, and trade shows aren’t dead in 2025. They’ve just evolved. While print newspapers and Yellow Pages have faded into obscurity, hyper-local tactics like digital billboards with QR codes or sponsoring community events can still build awareness. The catch? They lack the real-time analytics of digital platforms and don’t let you chat directly with your audience. Pair them with online efforts for the best bang for your buck. Think of them as a supporting act, not the headliner.
3. Website Development
Your website is your 24/7 salesperson, and in today’s world, it’s non-negotiable for any roofing business. Why? It’s cost-effective, accessible, and builds trust. A sleek, fast-loading site signals you’re a pro. Stats show 80% of users judge a company’s credibility by its web design alone. Plus, with voice search and AI chatbots now standard, your site can answer questions like “How much for a new roof?” even while you’re asleep. Make it mobile-friendly, easy to navigate, and packed with visuals of your work. Before-and-after photos still seal the deal.
4. SEO (Search Engine Optimization)
SEO keeps your roofing company popping up when folks search “roof repair near me” on Google, Bing, or even AI-powered engines. It’s all about boosting your online visibility with smart content. Start simple: sprinkle keywords (e.g., “emergency roof repair [your city]”) into your site’s titles, headers, and pages. Share blog posts or videos that tackle common roofing questions like “Can my roof handle another storm season?” Keep navigation smooth so customers can reach you fast. Not sure where to start? Think like your client: What are they typing into their phones at 2 a.m. with a leaky roof?
5. Email Marketing
Email is still a powerhouse. Everyone’s got an inbox, and it’s a direct line to your audience. With platforms like Mailchimp, you can track opens, clicks, and even sales tied to each campaign. Personalize it: send storm prep tips to homeowners or a “thanks for choosing us” follow-up with a discount on gutter cleaning. Automation’s your friend. Set up drip campaigns that trigger when someone signs up for a quote. It’s low-cost (many plans are still free for small lists) and flexible. Tweak it if it’s not working. Just pick a provider that scrubs bad email addresses and serves up solid stats.
6. Social Media
Social media’s your megaphone, with platforms like Instagram, TikTok, and LinkedIn driving engagement and leads. It’s 100% better at closing deals than cold calls ever were. Post quick drone clips of your crew in action, share customer testimonials, or jump on trends like a “Roofing Fails” series with a humorous twist. Focus on one platform first (Instagram for visuals, LinkedIn for pros) and keep it consistent—weekly posts with punchy captions and eye-catching images. Tools like Buffer or Later can auto-post for you, and analytics will show what’s clicking. Engage back—answer comments, share others’ posts, and build a community around your brand.
7. Digital Marketing
Ready to level up? Digital ads are smarter than ever. Paid social ads on Meta (yep, still kicking with 3 billion+ users) let you target homeowners in your zip code who’ve searched “roof leaks.” Search Engine Marketing (SEM) via Google Ads puts you at the top of “roofing contractor” searches—perfect for urgent jobs. And programmatic ads? They use AI to hit the right people at the right time, no guesswork needed. Budget varies, but even $100 a month can stretch far with precise targeting. Work with a pro if you can. They’ll optimize it so you’re not just spraying and praying.
Great Marketing Means Business
Branding isn’t optional. It’s your roofing company’s lifeline. With a mix of sharp messaging, standout visuals, and the right tools, you can break through the noise and leave a mark as lasting as a Wild West brand. Whether it’s a killer website, a viral TikTok, or a targeted ad, now’s the time to connect with your audience and build a reputation that keeps the jobs rolling in.
At MBCI, sustainability is more than a trend—it’s a cornerstone of modern construction. Our mission is to deliver roofing solutions that endure while minimizing environmental impact. Metal roofing stands out as a prime example: it’s tough, adaptable, and a leader in green building practices. Let’s explore why metal roofing is an eco-conscious choice and how MBCI is driving the shift toward more sustainable structures.
Key Highlights
• Longevity: Metal roofs last over 50 years, cutting down on replacements and waste. • Recyclability: Crafted with recycled materials and fully recyclable at end of life. • Energy Efficiency: Reflective finishes reduce cooling expenses; insulation boosts winter performance. • Resilience: Weather-tough designs lower repair frequency and resource demands. • MBCI’s Commitment: Eco-friendly roofing options paired with expert support for sustainable projects.
The Green Advantage of Metal Roofing
Metal roofing brings a clear sustainability edge. Unlike asphalt shingles that clutter landfills after 15-20 years, metal roofs can thrive for 50 years or more with little upkeep. This extended lifespan reduces waste and lessens the environmental burden over time. And that’s just the beginning.
Recycling is where metal roofing truly shines. Materials like steel and aluminum—staples in our roofs—are among the planet’s most recycled substances. At the end of their service, our roofs can be transformed into new products, bypassing landfills entirely. Many MBCI metal roofs already incorporate recycled content, creating a sustainable cycle of resource use.
Energy Savings That Deliver
Sustainability isn’t only about a product’s endgame—it’s about daily performance. Metal roofing reflects sunlight, keeping buildings cooler and easing the strain on air conditioning, especially in hot regions. Add one of MBCI’s cool-roof coatings (offered in various shades), and you’ve got a system that helps cut energy costs and emissions.
Pair a metal roof with insulation in colder months to trap warmth, ensuring year-round efficiency. This energy optimization makes metal roofing ideal for homes, businesses, or industrial spaces aiming to operate more sustainably.
Reducing Environmental Impact
While producing metal roofing uses energy, MBCI leverages cleaner manufacturing techniques to help shrink our carbon footprint. Every phase—from production to placement—benefits the environment
Durability seals the deal. Metal roofs shrug off extreme weather, such as rain, wind, or hail, when properly designed and installed, outlasting many alternatives. Fewer fixes and replacements mean fewer resources spent, offering building owners reliability and the planet a break from waste.
Building Stronger Communities
At MBCI, sustainability goes beyond products—it’s about lasting impact. Our metal roofs strengthen buildings that support communities for generations. We’re also dedicated to helping customers embrace eco-friendly building choices that fit their goals and budgets.
Why MBCI for Metal Roofing?
Sustainability drives our metal roofing solutions. Whether upgrading an existing structure or starting fresh, our team can help you find the perfect roof. With MBCI, you’re choosing more than a roof. You’re opting for durability and environmental responsibility in one.
Ready to see how metal roofing can enhance your next build? Reach out today or check out our sustainable roofing lineup. Let’s create something enduring, attractive, and earth-friendly, together.
At MBCI, we understand that in the metal construction industry, a warranty is more than just a document – it’s a promise to support your project from start to finish. Our weathertightness warranty process is designed to ensure the success of your metal building systems through proactive planning, expert guidance, and ongoing support. Here’s how we deliver unmatched value to your metal roofing and wall panel projects.
Pre-Project Precision
Our commitment to your project begins long before the first metal panel is installed. During the pre-bid stage, we take a proactive approach to set your project up for success:
Careful Review of Project Specifications: We analyze your project’s unique requirements to ensure every detail is accounted for.
Thorough Geometry Reviews: We assess the design to identify potential challenges and provide solutions for metal roof systems.
Tailored Warranty Guidance: We help you choose the warranty option that best fits your project’s needs, whether for standing seam metal roofs or insulated metal panels.
Pre-Order Checklist
Before your order is finalized, we take additional steps to ensure everything is in place:
Final Drawing Reviews: We verify that all design details are accurate and complete.
Order Accuracy: We double-check that all necessary materials are included, reducing the need for last-minute orders.
Third-Party Supplies: We identify components from other suppliers so you can plan accordingly.
Warranty Options Designed for Your Metal Construction Project
We understand that every project is unique, which is why we offer multiple weathertightness warranty levels to meet your specific requirements.
Standard Warranty Options
Available in 5, 10, 15, and 20-year terms
Coverage for select metal panel profiles
Options with or without certified installer requirements
Single Source Warranty
For comprehensive protection, our Single Source Warranty includes:
Three Critical On-Site Inspections: Ensuring quality at every stage of
5, 10, 15, and 20-year terms
Coverage for select metal panels
Reviews at project startup, mid-point, and completion
Certified installer requirements for maximum quality assurance
Dedicated Customer Support
At MBCI, we’re more than just a warranty provider – we’re your project partner. Our team is here to guide you through every step of the process:
Warranty Documentation Assistance: We simplify the paperwork so you can focus on your metal building project.
Expert Navigation of Warranty Requirements: We help you easily meet specifications based on the warranty type, whether for standing seam metal roofs or insulated metal panels.
Clear Communication: We keep you informed at every stage of the project.
Technical Expertise Throughout Your Metal Construction Project
Our warranty specialists are with you from start to finish, providing technical expertise to ensure your project’s success:
Drawing Reviews and Approvals: We verify that your project plans meet warranty requirements.
On-Site Inspections: Depending on your warranty coverage, we conduct multiple inspections to guide proper installation.
Detailed Reports and Recommendations: We highlight any concerns and offer solutions to optimize the performance.
Why Our Warranty Stands Out
What sets MBCI’s weathertightness warranty apart in the metal construction industry?
Personalized Project Management: Tailored support for your unique needs.
Proactive Quality Control: Inspections and reviews to catch issues early.
Comprehensive Documentation: Clear and thorough records for your peace of mind.
Transparent Communication: We keep you informed every step of the way.
Post-Installation Support
Our commitment doesn’t end when the project is complete. We provide:
Detailed Inspection Reports: Clear documentation of installation quality.
Warranty Maintenance Guidance: Tips to help you maintain warranty validity.
Ongoing Support: Assistance throughout your warranty period.
Certified Installer Training
Architectural metal building designs demand precise installation to maintain their integrity and performance. That’s why many architects now require manufacturer-certified installers.
MBCI, through the Cornerstone Building Brands Certification Program, offers comprehensive training to ensure installers are equipped with:
Proper installation techniques for metal roofing systems and wall panels
System-specific expertise for standing seam metal roofs and other metal panels
The knowledge to maximize product performance and meet architectural specifications
Partnering for Long-Term Success
At MBCI, we’re not just providing a warranty – we’re partnering with you to ensure your project’s long-term success. From pre-project planning to post-installation support, our weathertightness warranty process is designed to deliver peace of mind and exceptional results for your metal construction projects.
Ready to learn more? Contact our Project Sales team today to discuss your specific needs and discover how our warranty protection can benefit your next project.
In the world of metal building construction, estimating is a critical component of any successful project. At MBCI, we recognize the importance of providing accurate, timely, and professional estimates with comprehensive bids so that you know your exact cost and have the information you need to win the project. Our streamlined estimating process is designed to deliver precise quotes efficiently, helping to ensure your project’s success from the start.
Clarity Is Key: Providing Complete Project Details
Providing complete and detailed information is essential to receive the most efficient estimate for your project. Here are some key elements to include:
Detailed architectural drawings: These are crucial for understanding the scope and specifics of your project. They provide a visual representation that helps in planning and executing the construction process accurately.
Specify all desired products: Whether it’s roofing, walls, soffit, or fascia, be clear about what you need. This specificity helps avoid confusion and ensures that the right materials are used.
Indicate different product types: Clearly mark different product types for various building sections. This helps organize the construction process and ensures that each section is constructed with the appropriate materials.
Multiple buildings: If your project includes multiple buildings, be sure to document this information, as it impacts overall planning and resource allocation.
Special requirements or deadlines: Let us know of any unique needs or time constraints up front so we can tailor our services to meet your project needs.
What Our Estimating Team Delivers
Our estimating team is committed to providing comprehensive and detailed estimates, including:
Detailed product cost breakdowns: We provide a breakdown of costs for each product, helping you manage your budget effectively.
Color-coded architectural drawings: Visualize product placement easily. Our architectural drawings can help you understand where each product will be used, making the construction process smoother.
Accurate square footage and linear footage calculations: Ensure precise measurements for your project. Accurate calculations are crucial for ordering the right amount of materials and avoiding waste.
Complete material lists: We offer everything from major components to fasteners. This comprehensive list ensures that you have everything you need for your project.
Quick turnaround times: Our dedicated team’s efficient process ensures you get a complete bid based on your requested bid date.
Tools for Success
To facilitate a smooth estimating process, ensure you have the following:
Architectural drawings: Essential for accurate planning.
Clear Scope of Work: Define what needs to be done.
Project timeline/deadlines: Keep your project on schedule.
Product preferences: Specify any particular brands or types.
Special pricing requirements: If applicable, let us know about any pricing considerations.
Why Details Matter
The more complete the information we receive upfront, the faster we can process your estimate without interruptions or delays. This attention to detail helps us maintain our commitment to quick turnaround times and ensures you receive the accurate quote you need.
Our dedicated estimating team works closely with project coordinators and sales managers to address every detail. We understand the pressure of tight deadlines, and our streamlined process is designed to help you meet those challenges head-on.
Ready to get started? Contact your Project Coordinator today with your project details. We’re here to help make your next metal building project a success.
The recent arctic blasts that hit the northeast brought to mind many things: hot cocoa, the evils of shoveling snow, a nice fire, the longing for a warm beach and, of course, how to properly specify snow retention systems on standing seam roofs. I’m not alone here, right?
All jokes aside, when I was scratching my brain for a new blog post, the cold weather and blizzards reminded me how easy it is to specify snow retention devices improperly. It might appear rather elementary at first; you might think it is as simple as planning for snow retention around entrances and frequent walkways. If so, you, along with many others, are mistaken. Let’s review some not-so-obvious areas to consider while planning a snow retention system for a standing seam metal roof.
Gutters
If a gutter is used that has a face high than the pan of the metal roof panels, the gutter must be protected from sliding ice and snow. Gutters are designed for one purpose – to channel the water to a downspout. If it is left unprotected it cannot resist sliding ice and snow.
Pipe penetrations
As ice and snow slides down a roof and encounters a pipe penetration, the force can cause the pipe to move down slope and damage the roof jack and the roof, or shear the pipe at the roof surface.
Upper roofs draining into lower roofs
The upper roof should have a snow retention system installed to prevent ice and snow from falling onto the roof below. Without snow retention, the sliding ice and snow can cause extensive damage to the roof membrane and to equipment on the lower roof.
Panel seams perpendicular to the main roof slope
Connector roofs or dormers are typical examples of this type of roof area. The main roof slope provides a surface for ice and snow to slide toward the eave. If it then encounters a roof surface that is perpendicular to this main slope, damage to the roof panels and trim on these roof areas can occur.
Valleys in high snow load areas
Valleys allow for snow to slide down a surface that is perpendicular to the panel seams. This offers the potential to bend panel seams down or shear them from the panel.
Aside from considering these areas while planning your snow retention system, also use clamps instead of screws to attach the system to the standing seams of the roof panels. Screws not only perforate roof panels but can also pin the roof and prevent it from floating as designed. Clamps, by comparison, have been tested and can be engineered for the specific roof to which they will be attached, allowing for the snow load, roof slope, panel run length and other details. These clamps do not penetrate the roof membrane, do not hinder roof expansion and are easily installed with a screw gun.
Final Recommendations
Lastly, I recommend having a registered, professional engineer design a retention system that meets the specified snow loads for the project. Without their expertise, there are possible repercussions. If the snow retention system cannot support the snow load, it can result in an entire system failure and major roof damage. This could potentially cause snow and ice to fall and hurt bystanders.
By keeping all of these in mind, along with proper installation and maintenance, a snow retention system will help your SSR survive winter blasts and protect pedestrians, too.