At a Glance: Why IMPs Improve Energy Efficiency
Insulated Metal Panels (IMPs) improve energy efficiency by providing continuous insulation, reducing thermal bridging and lowering HVAC demand. As a single, integrated building envelope system, IMPs help commercial buildings maintain consistent interior temperatures while helping reduce long-term energy use and operating costs.

What Are Insulated Metal Panels (IMPs)?
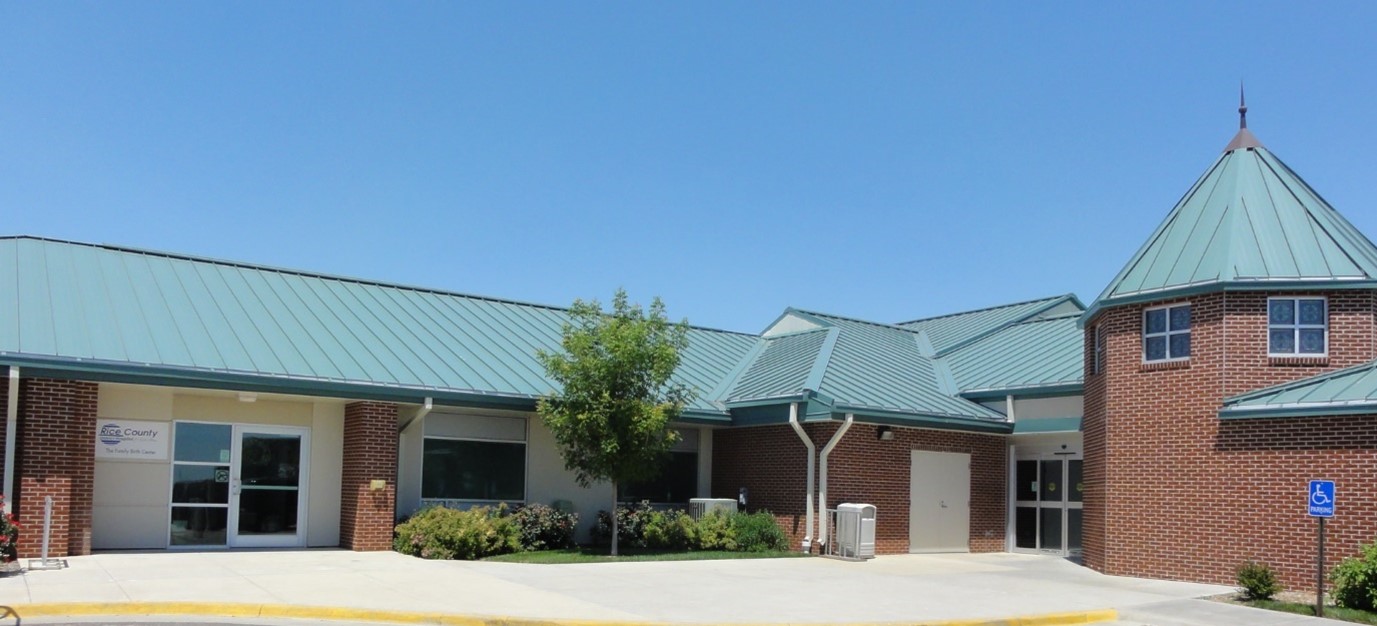
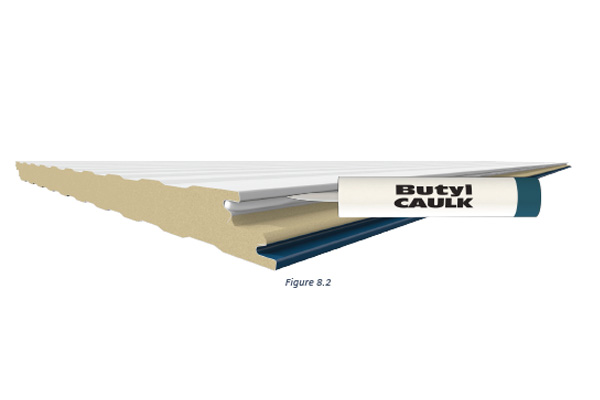
Insulated Metal Panels (IMPs) are single-component wall or roof systems that combine exterior and interior metal skins with a continuous insulated core.
Unlike traditional wall assemblies, where insulation, vapor barriers and interior liners are installed in multiple steps, IMPs are installed once and function as a complete building envelope system with proper design and adherence to the manufacturer’s installation guidelines.
This integrated design improves thermal performance by limiting air leakage, reducing gaps between component layers, and maintaining insulation continuity across the entire structure.
MBCI partners with All Weather Insulated Panels (AWIP), Kingspan and Metl-Span for insulated metal panels that offer advantages in sustainable building design for building owners, designers and contractors.
Our MBCI customer service representatives are here to help you choose the ideal IMP panel option to meet your project needs.
Contact Us
Why Are Insulated Metal Panels More Energy Efficient?
Energy efficiency is one of the primary drivers behind the growing adoption of IMPs in commercial construction.
Kelly J. Danker, a Project Solutions Coordinator who works closely with insulated metal panel systems across a wide range of commercial construction projects, shared insight on how evolving energy codes have influenced IMP adoption.
“As energy codes evolved, it became clear that traditional blanket insulation systems created thermal breaks that allowed heat loss and condensation, which are issues insulated metal panels are designed to eliminate,” Danker says.
IMPs address these issues by delivering continuous insulation, which significantly reduces thermal bridging and energy loss.
Megan Feltrup, Vendor Relations Manager who regularly collaborates with customers and project teams on insulated metal panel solutions, provided perspective on sustainability goals, long-term performance and lifecycle value.
“More customers are prioritizing sustainability goals, and insulated metal panels help reduce heat loss, lower HVAC demand and contribute to reducing the building’s carbon footprint over its lifespan.”
Key Takeaway: IMPs help improve energy efficiency by eliminating common failure points found in multi-layer wall assemblies.
How do IMPs Compare to Traditional Wall Assemblies?
When evaluating IMPs versus conventional wall systems, three performance areas stand out.
1. Thermal Performance
Traditional wall assemblies rely on multiple materials installed at different times. This increases the risk of gaps, misalignment or inconsistent insulation coverage.
IMPs provide uniform thermal performance across the entire building envelope with proper design and installation. This consistency helps maintain stable interior temperatures and improves overall energy efficiency.
Takeaway: Continuous insulation delivers more predictable energy performance.
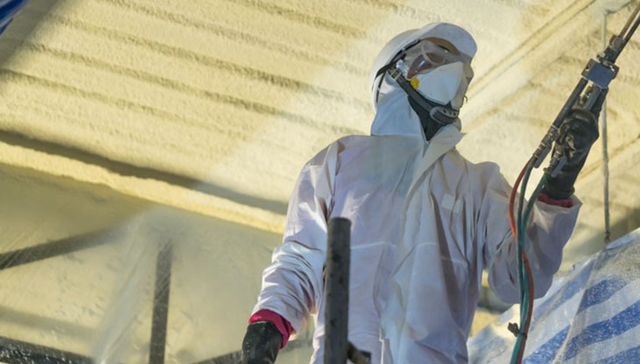
2. Installation Time and Labor Efficiency
IMPs are installed in a single step, eliminating the need to return later to add insulation or interior liners.
Danker emphasized that once contractors become familiar with proper handling and installation techniques, labor efficiency can improve significantly.
While specialized equipment and training are required, installation time is often reduced compared to traditional insulation assemblies.[View Installation training offerings through our vendor partners]
Takeaway: Faster installation supports both schedule efficiency and cost control.
3. Long-Term Cost Efficiency
IMPs typically have a higher upfront cost than conventional wall systems.
However, both Feltrup and Danker noted that energy savings, reduced labor and lower maintenance requirements typically offset the initial investment over the building’s lifespan.
Takeaway: IMPs should be evaluated based on lifecycle cost, not initial price alone.
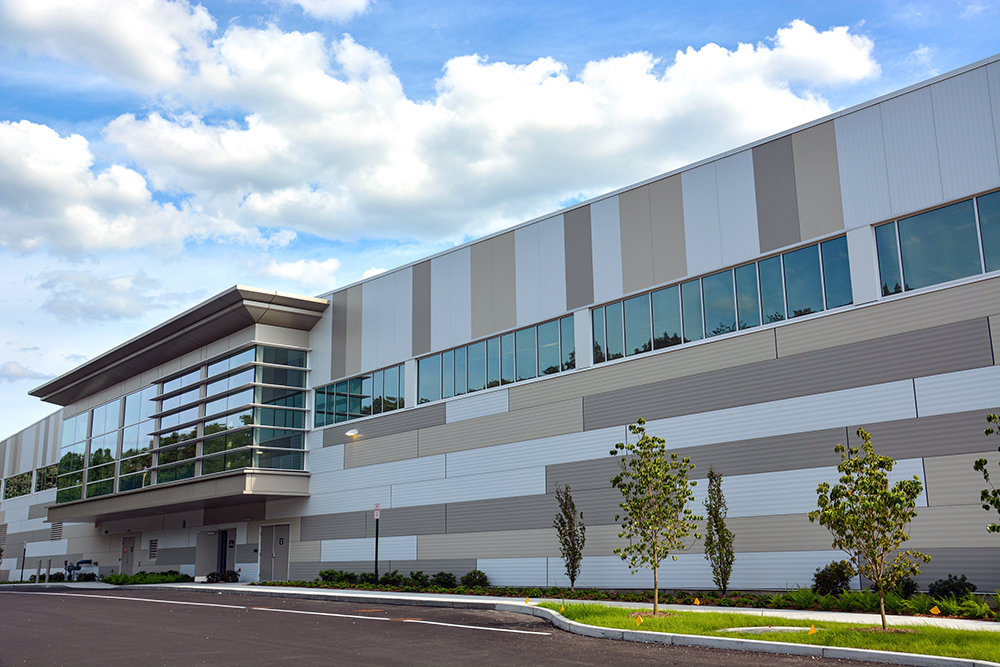
Durability, Longevity, and Maintenance Benefits
IMPs are designed for long-term performance in commercial environments.
- Many IMP finishes carry warranties of up to 40 years
- Properly installed systems can last 50-60 years
- Concealed fasteners reduce maintenance risks associated with exposed fastener failure
Because IMPs are installed once and sealed as a complete system, they typically require less ongoing maintenance than traditional wall assemblies.
Takeaway: Durability and reduced maintenance contribute directly to long-term value and sustainability.
How IMPs Support Sustainability and Building Certifications
IMPs can support broader sustainability initiatives and energy-efficiency programs.
Feltrup explained that IMPs may contribute toward:
- LEED®
- ENERGY STAR®
- Other energy-efficiency and sustainability benchmarks
Because of their thermal efficiency and long service life, IMPs can help reduce greenhouse gas emissions over time, supporting both regulatory requirements and corporate sustainability goals.
Takeaway: IMPs support sustainability by reducing energy use and extending building lifespan
Key Design Considerations Before Specifying Insulated Metal Panels
IMP performance depends on the following important considerations during early design phases:
- Selecting the correct panel type based on project requirements
- Confirming approved substitutions during the specification process
- Ensuring installers complete manufacturer-specific training
Certification through a specialized IMP installer training program is typically required to qualify for standard weathertightness warranties. While this may not seem like an immediate benefit, obtaining the certification can significantly enhance your credibility and ensure compliance with industry standards.
Takeaway: Early coordination and proper installation are critical to achieving energy performance goals.
Addressing the Biggest Misconception About Insulated Metal Panels: Cost
One of the most common misconceptions surrounding IMPs is cost.
While initial pricing can cause sticker shock, IMPs should be evaluated as a long-term investment, not a single line item.
When factoring in:
- Energy savings
- Faster installation
- Reduced maintenance
- Extended building lifespan
IMPs typically pay for themselves over time, particularly in larger commercial applications.
Takeaway: Higher upfront costs are frequently offset by long-term operational savings.
Frequently Asked Questions About Insulated Metal Panels
- What makes insulated metal panels more energy efficient than traditional insulation?
IMPs provide continuous insulation, which reduces thermal bridging and minimizes heat loss compared to multi-layer wall assemblies.
- Do insulated metal panels reduce HVAC system demand?
Yes. By improving thermal performance and reducing heat transfer, IMPs can lower heating and cooling demand.
- Are insulated metal panels more expensive than traditional wall systems?
IMPs often have higher upfront costs, but expected energy savings, reduced labor, and lower maintenance can offset the initial investment over time.
- How long do insulated metal panels last?
Properly installed IMP systems can last 50-60 years, with many finishes warrantied for up to 40 years.
- Do insulated metal panels support sustainability certifications?
IMPs may contribute toward programs such as LEED® and ENERGY STAR® certifications by improving energy efficiency and reducing long-term environmental impact.
As energy codes continue to evolve and sustainability expectations rise, IMPs offer a proven path to better building performance. By combining continuous insulation, long-term durability and installation efficiency into a single system, IMPs help commercial projects meet today’s energy demands while planning for the future.
Explore available insulated metal panel options to find the right solution for your project’s performance, design, and efficiency goals.