
With the great variety on the market, one of the main questions we, as metal roof panel manufacturers, get from customers is “How do I select the right panel for my project?” The answer can generally be found by examining a number of criteria, including the properties of the roof, the region and climate, geometry, slope, warranty type…among other key factors.
Here we will provide a brief overview of the various factors that should be considered when narrowing down the choices.
Determining Factors
1. Slope— Slope is the first consideration as just this one aspect will eliminate certain panels, making it easier to narrow down options right from the start. The two types of roof slopes are low slope and steep slope.
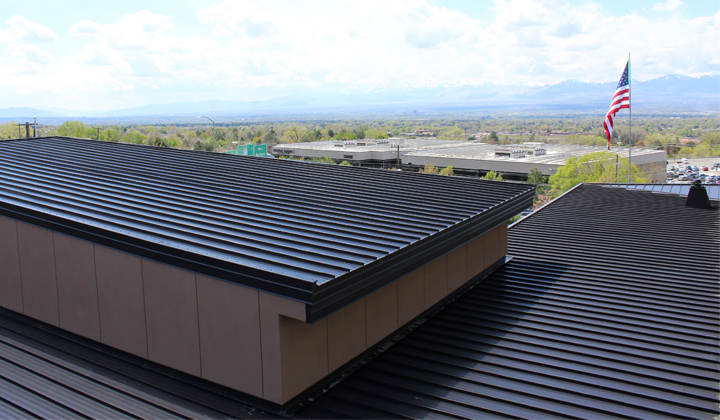
- A low-slope roof, commonly found in commercial applications, is one whose slope is less than 3:12. The benefits include a simpler geometry that is often much less expensive to construct, and the requirement of fewer materials than a steep slope, thereby reducing material costs.
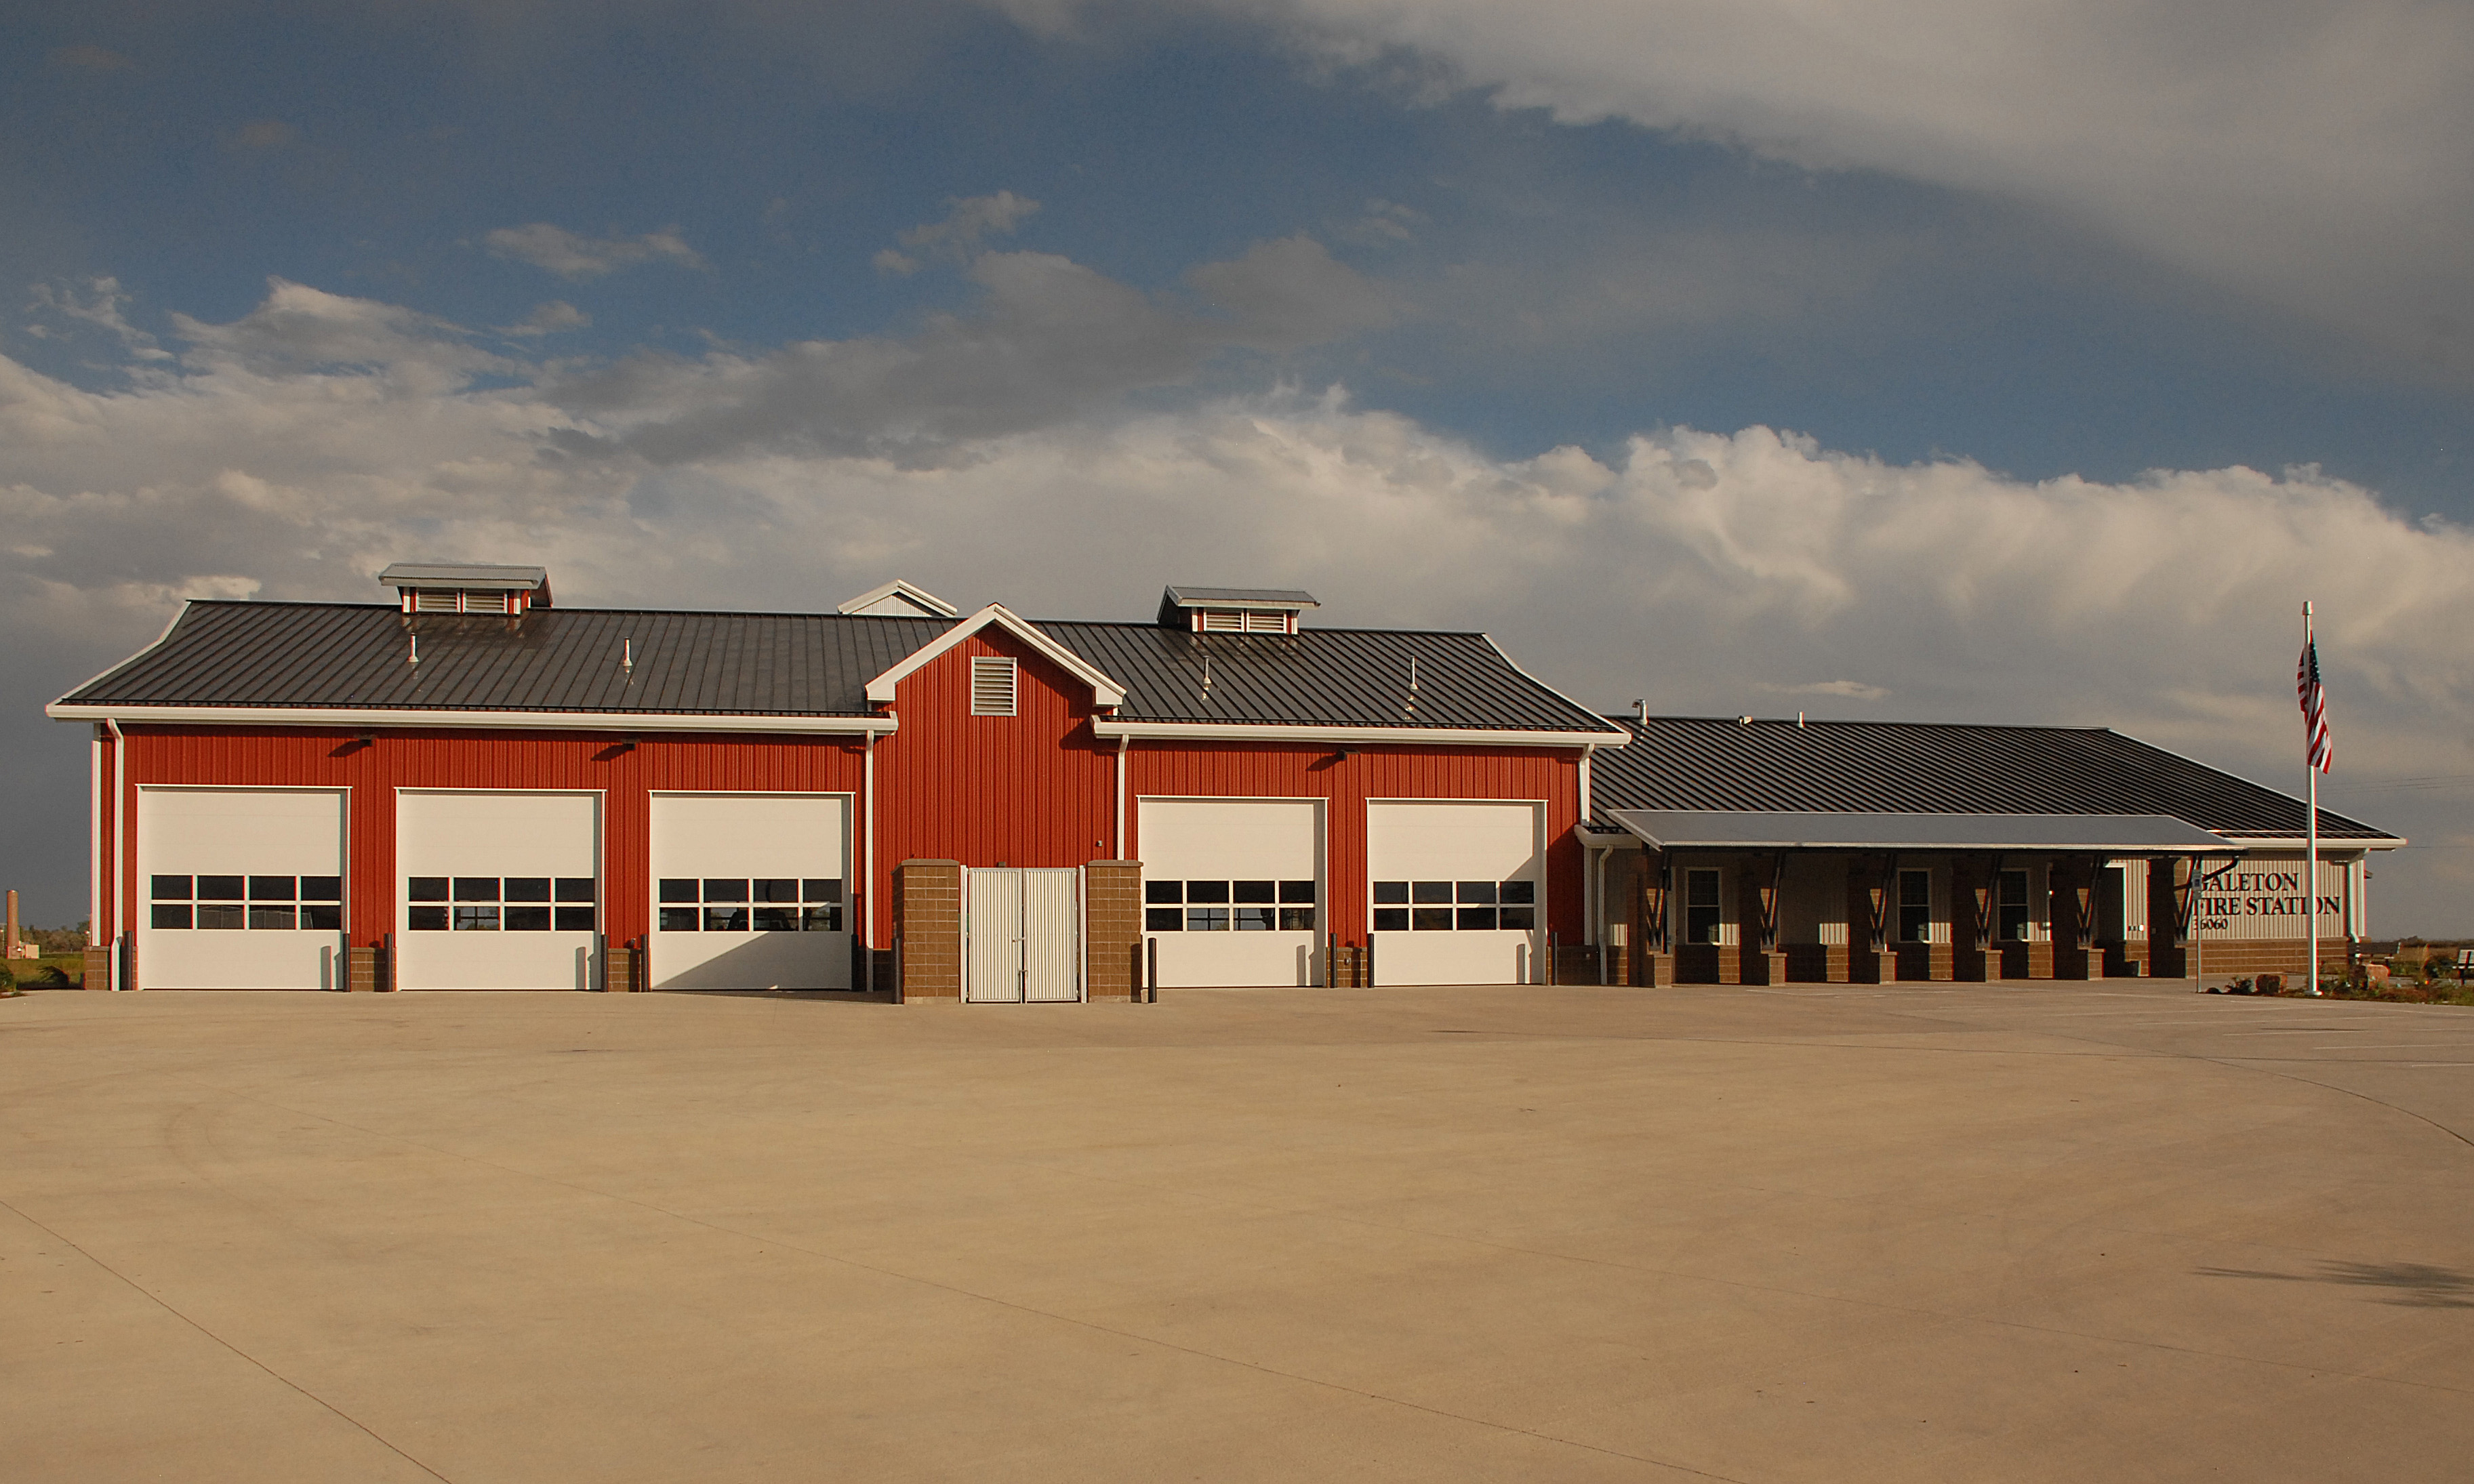
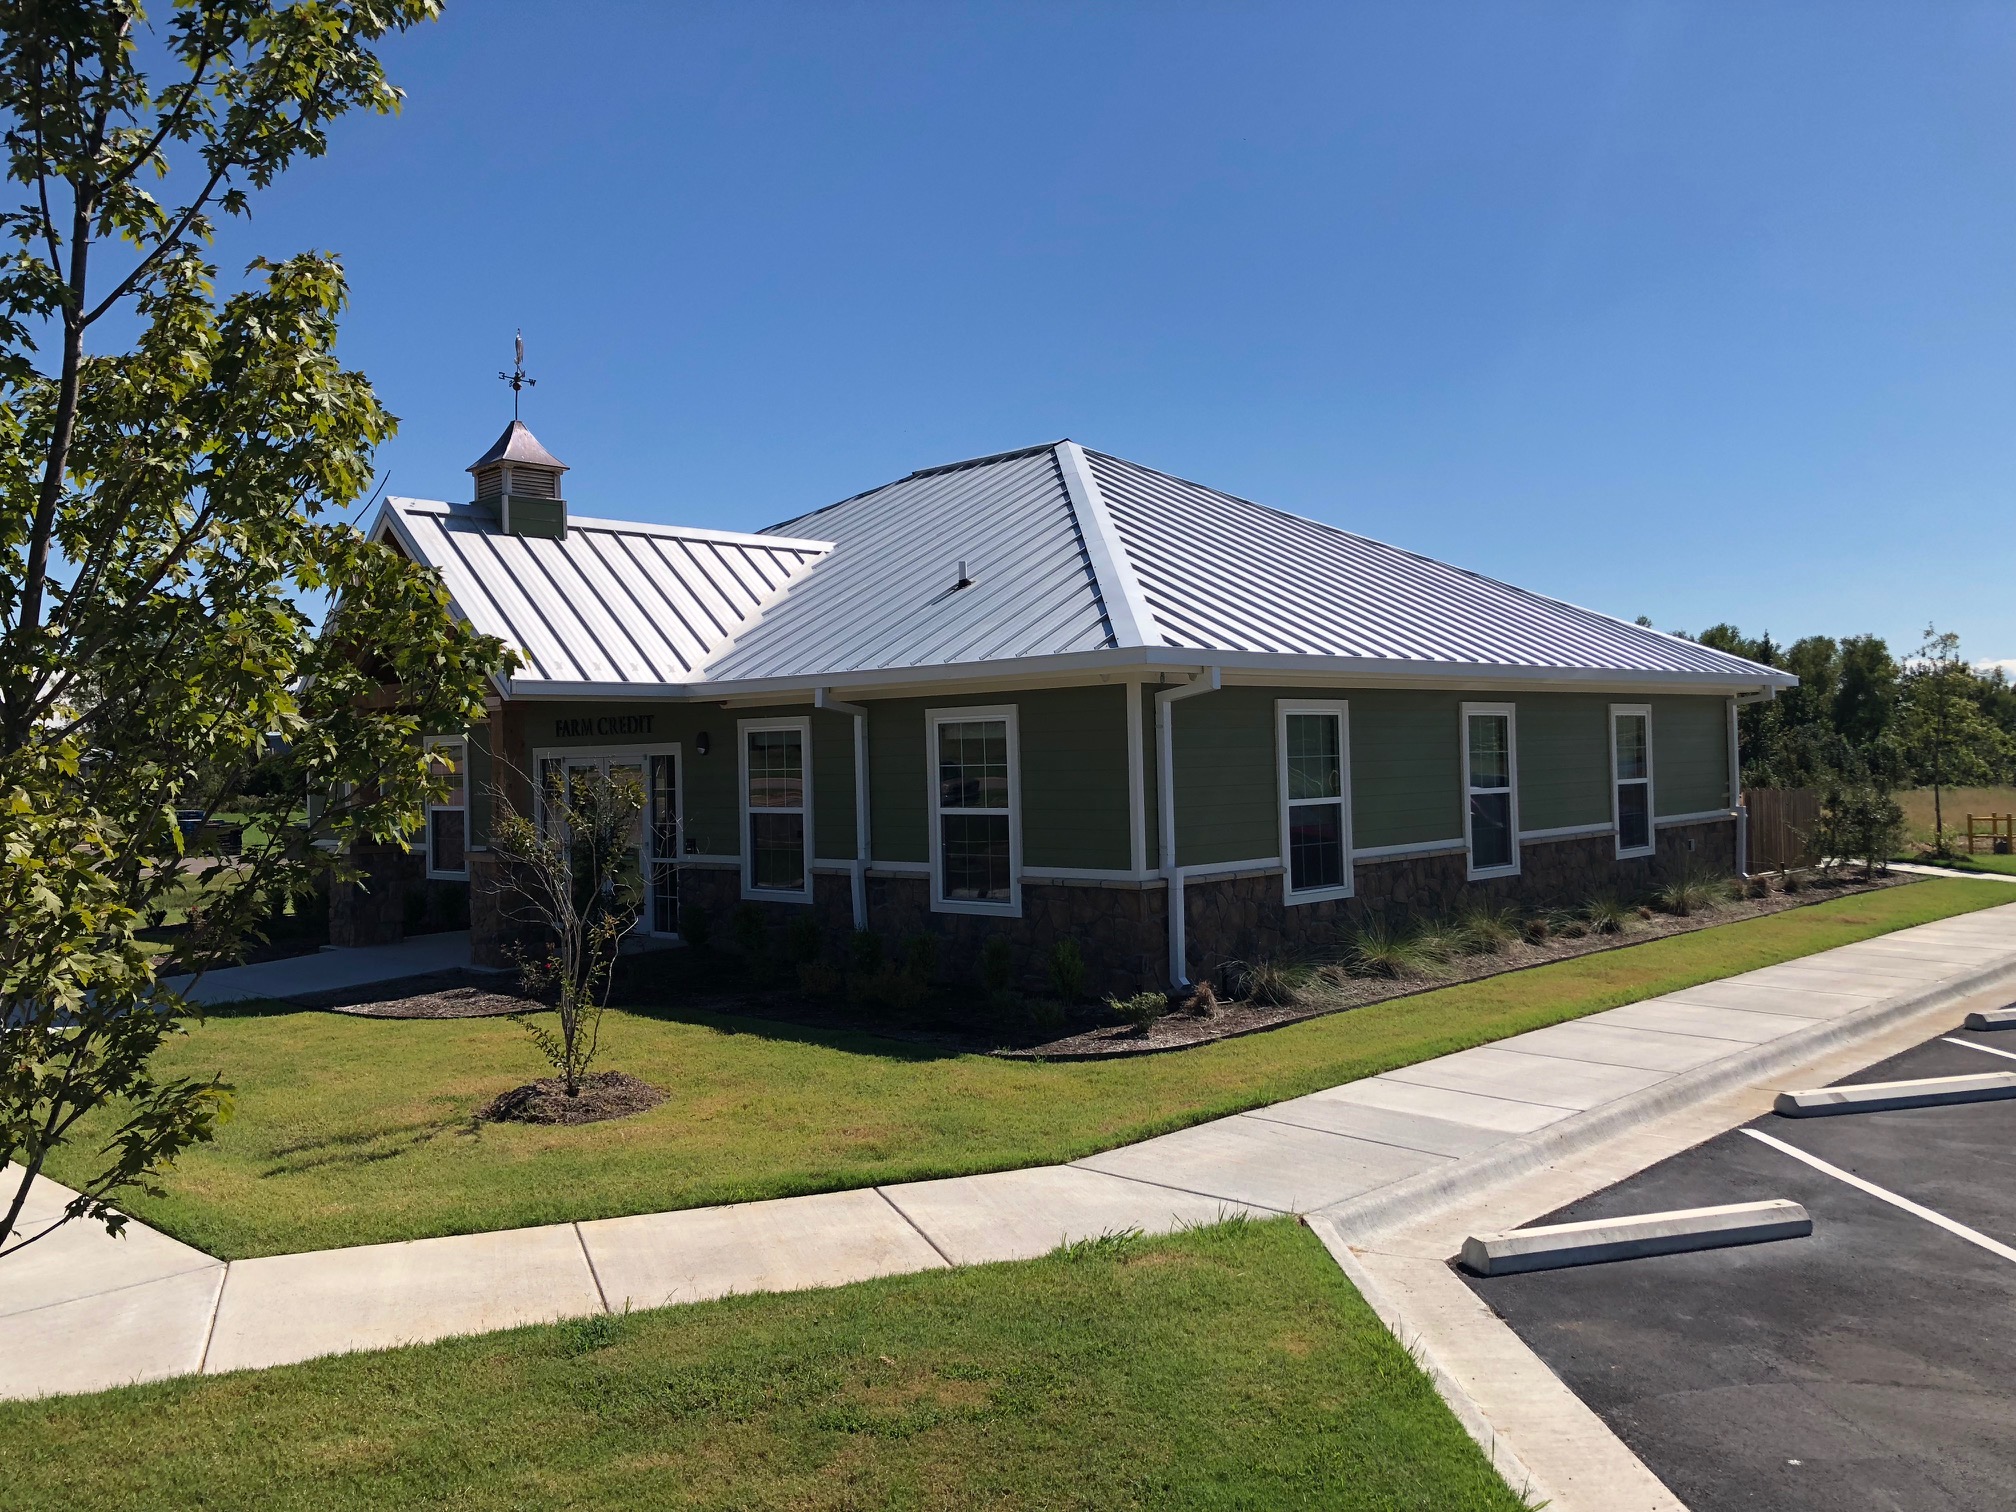
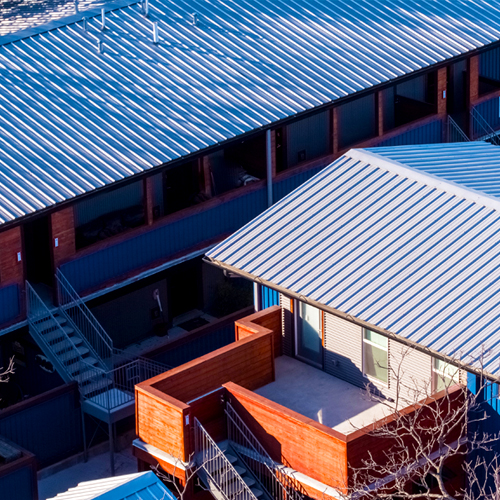
- A steep slope roof, more common in residential construction, is one whose slope is greater than 3:12. Steeper slopes are ideal for areas that have higher snow loads and will also prevent the possibility of ponding water on the roof. Since the roof is a visible part of the structure, choosing a metal roof for residential construction often skews more toward aesthetic considerations.
2. Location/Climate— The location and climate of the project is a factor, specifically when looking at certifications/regulatory product approvals, which will limit the panels you can you use within specific regions. This is most relevant to Dade County, the state of Florida, and the Texas Coast, as well as certain snow regions.
3. Specified test standards—Often times, you may need to specify UL 580 or Factory Mutual Insurance Design.
4. Engineering Design—Due to the roof pressure acting on the buildings, engineering design factors eliminate some products because they’re simply not strong enough. This is an area that needs true technical expertise. For that reason, make sure to get a professional engineer to design the roof system in order to determine the correct panel for the project. Also, check with the manufacturer to determine if they have panels that have been tested to certain test standards. If they do not have the testing on a product, that in itself can exclude a particular panel.
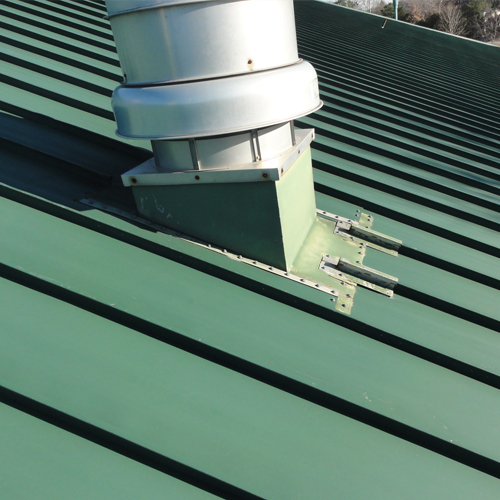
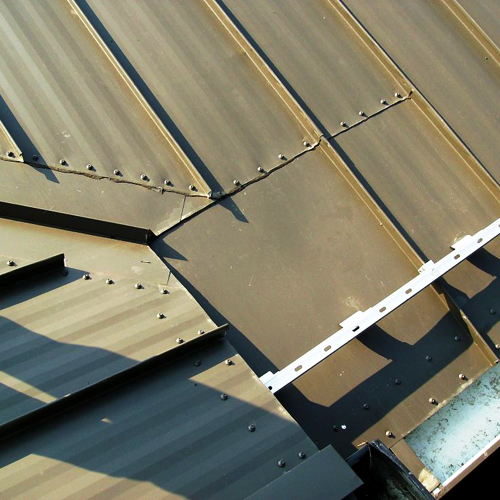
5. Geometry—In its most basic terms, roof geometry is an overview of what the finished roof will look like, including special conditions, such as hips, valleys and ridges. The various conditions that go along with specific roof types will determine if a roof geometry is simple or complicated—which will affect the type of panel that can—and can’t—be used. For instance, a Double-Lok® roof panel can be used on a low slope roof—it can go down to 1/4:12. However, if a low roof slope condition has a valley, you may want to avoid a Double-Lok® panel since this product is more difficult to use in a valley situation.
6. Panel type— Panel types can be broken out into two main types: standing seam and through-fastened. The choice of specific product within these general categories depends on a number of considerations, including aesthetics and weathertightness warranties. If your project calls for either standing seam OR through-fastened, that will eliminate about half the types right off the bat.
- Standing Seam Roof Systems
In basic terms, there are four unique styles of metal standing seam panels: Double lock seam, symmetrical seam, one-piece snap-lock interlock and two-piece snap-lock interlock. These styles can be further delineated by seam shape or profile, i.e. trapezoidal rib, vertical rib, square rib and tee rib. - Through-Fastened Roof Systems
Exposed, or through-fastened panels, are available in a variety of widths, usually from two to three feet wide. They also come in various rib shapes, heights and spacings. Typical gauges are 29 and 26, but they also come in 24 and 22 gauge. There are also structural and non-structural through-fastened panels. Structural panels are capable of spanning across purlins or other secondary framing members such as joists or beams. Non-structural panels must be installed over a solid deck. Through-fastened roofs are best suited to small- and medium-sized metal buildings and residential applications. In both instances, the panel runs are limited to shorter lengths where thermal movement is typically not a problem.
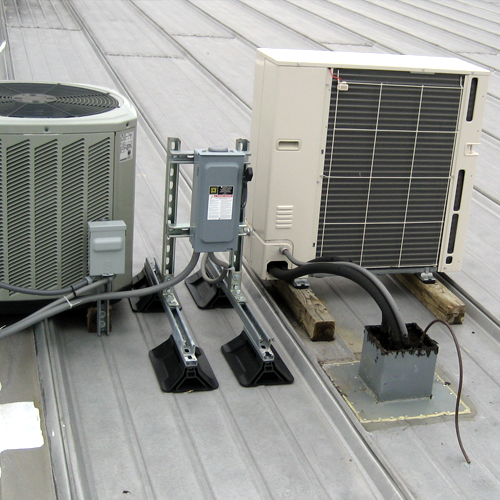
7. Substrate— Examples of substrates are open framing, plywood, and metal deck. Some panels can’t be attached, for instance, to open framing but almost every type of panel can attach to plywood.
8. Required Weathertightness Warranties— If a weathertightness warranty is a requirement, your options are down to the only panels offered with that guarantee—eliminating all the through-fastened panels.
Looking to the Manufacturer for Help
While specifiers need to take that initial look at all the determining factors, the choices can still feel overwhelming. Once you’ve eliminated the panels that surely won’t work, you will still likely be left with many strong choices. The metal panel manufacturer can guide you to that decision. We encourage you to contact the MBCI team of experts to help further narrow down the choices in order to finalize what is the best metal roof panel for your project. For more guidance on finding the right roof panel for your project, stay tuned for our white paper coming soon.


