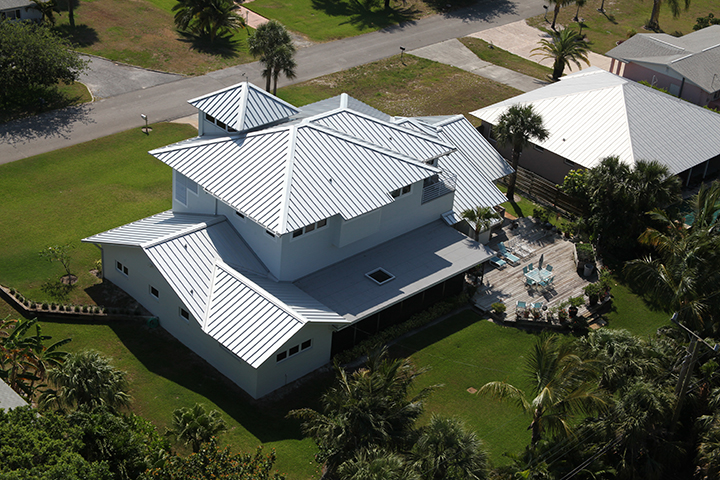
Getting an accurate measurement for your metal roofing panels may seem like a no-brainer, but it’s not quite as simple as length x width. The many complexities of a roof must be taken into consideration in order to ensure your numbers add up. For instance, anything that intrudes upon a roof plane needs to be included in drawings with labeled measurements as these conditions will all affect the measurement but are sometimes overlooked.
Let’s look at some specific conditions to consider before getting out the measuring tape as well as some handy tips for installers.
Building Conditions to Consider Before Measuring
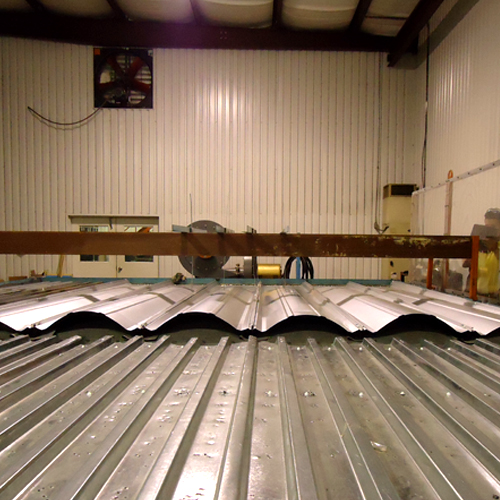
The type of roof system
Is it going to be a standing seam roof system or an exposed fastener system? Once you’ve decided on your roof type, we recommend reviewing all of the conditions/details on the roof. If it’s a standing seam roof, will the roof system need to float? If so, where will it be pinned, and what direction will it float?
At MBCI, we have published installation technical manuals for installers and erectors to utilize in order to familiarize themselves with how to adjust for ridge conditions or end lap conditions, for instance.
Is it a new or existing metal building?
If it is an existing building, are there new or updated building codes to consider? This could possibly dictate panel type, gauge, or width, or require additional framing members that could impact the final measurements.
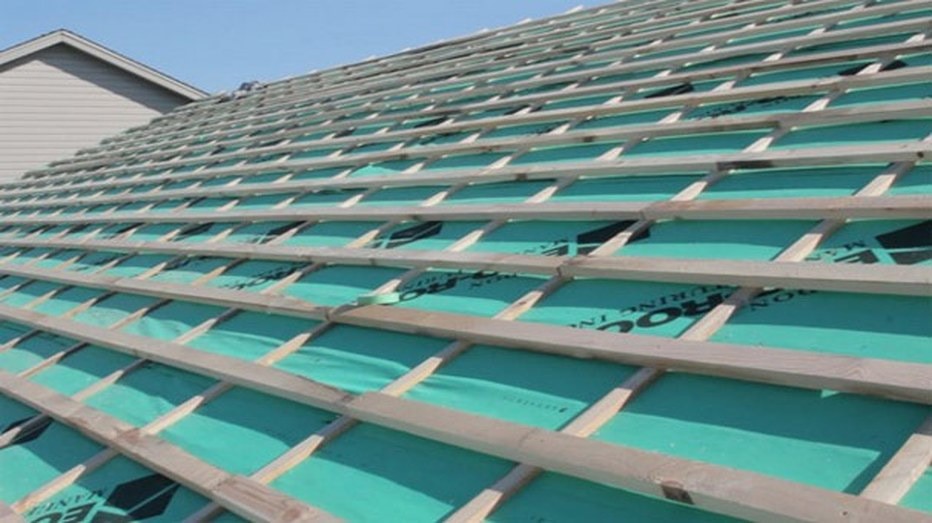
What is the purlin spacing?
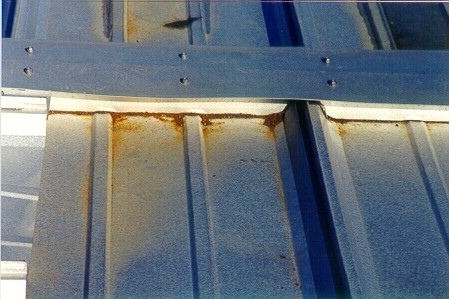
The panel break at the purlin for an endlap condition will need to be considered.
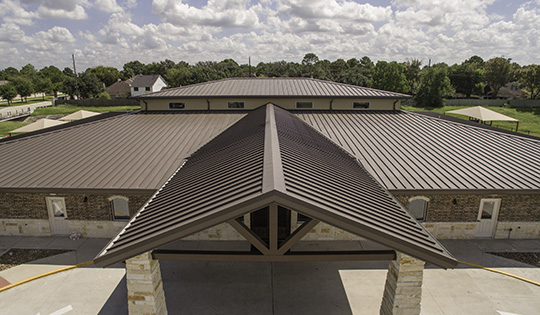
Are there extensions, overhangs or penetrations?
Include any roof extensions or overhangs that may not be apparent at first glance. Any and all roof conditions should be considered when calculating panel and trim length, including any roof penetrations such as pipes, roof curbs, skylight hatches, etc.
The manufacturer’s details will aid in determining such things as panel hold back at the ridge, or panel overhang at the eave or gutter. Also, roof or slope transitions, and panel hems should be considered.
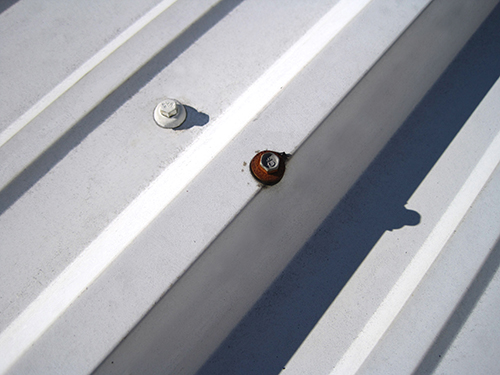
Insulation
The thickness of the insulation could determine or dictate the fastener type used.
Measuring Tips
- Field verify the roof slope. The contractor should gather the field dimensions so measure when the framing is in place. While you can measure off of a set of plans, it’s not a definitive way to do things because things change in the field.
- The structure should be square while you’re measuring. Scaling from plans may get you close, but measuring erected framing that is plumb and square is the most accurate.
- You should measure multiple spots.
- It’s a good idea to use a plan view of the roof or sketch a bird’s eye view to record your measurements.
- Record your measurements in the units of measure that your manufacturer uses, typically feet and inches, to avoid errors.
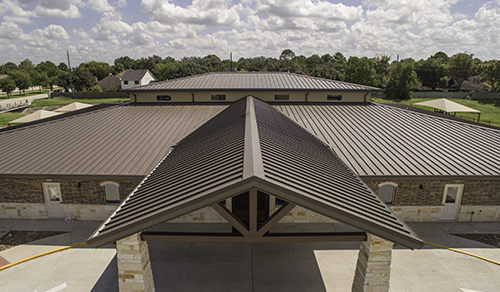
- The erector may elect to add a few inches to the length of the panels at a hip or valley to remedy any cutting mishaps since these panels will be field cut to the hip or valley angle.
- Some contractors include one or two extra panels at the longest length for any errors or jobsite damage.
Ultimately, the takeaway is that any differential when measuring metal panels for installation could affect a building’s performance, so it’s important to keep all potential scenarios that could affect measurement accuracy in mind—throughout the entire process. To find out more about the proper way to measure a roof for metal buildings or to schedule training, contact your local MBCI representative.